Namespaces
This section of the OICM+ platform admin tools enables tenant admins to manage Kubernetes namespaces effectively within their tenant environment.
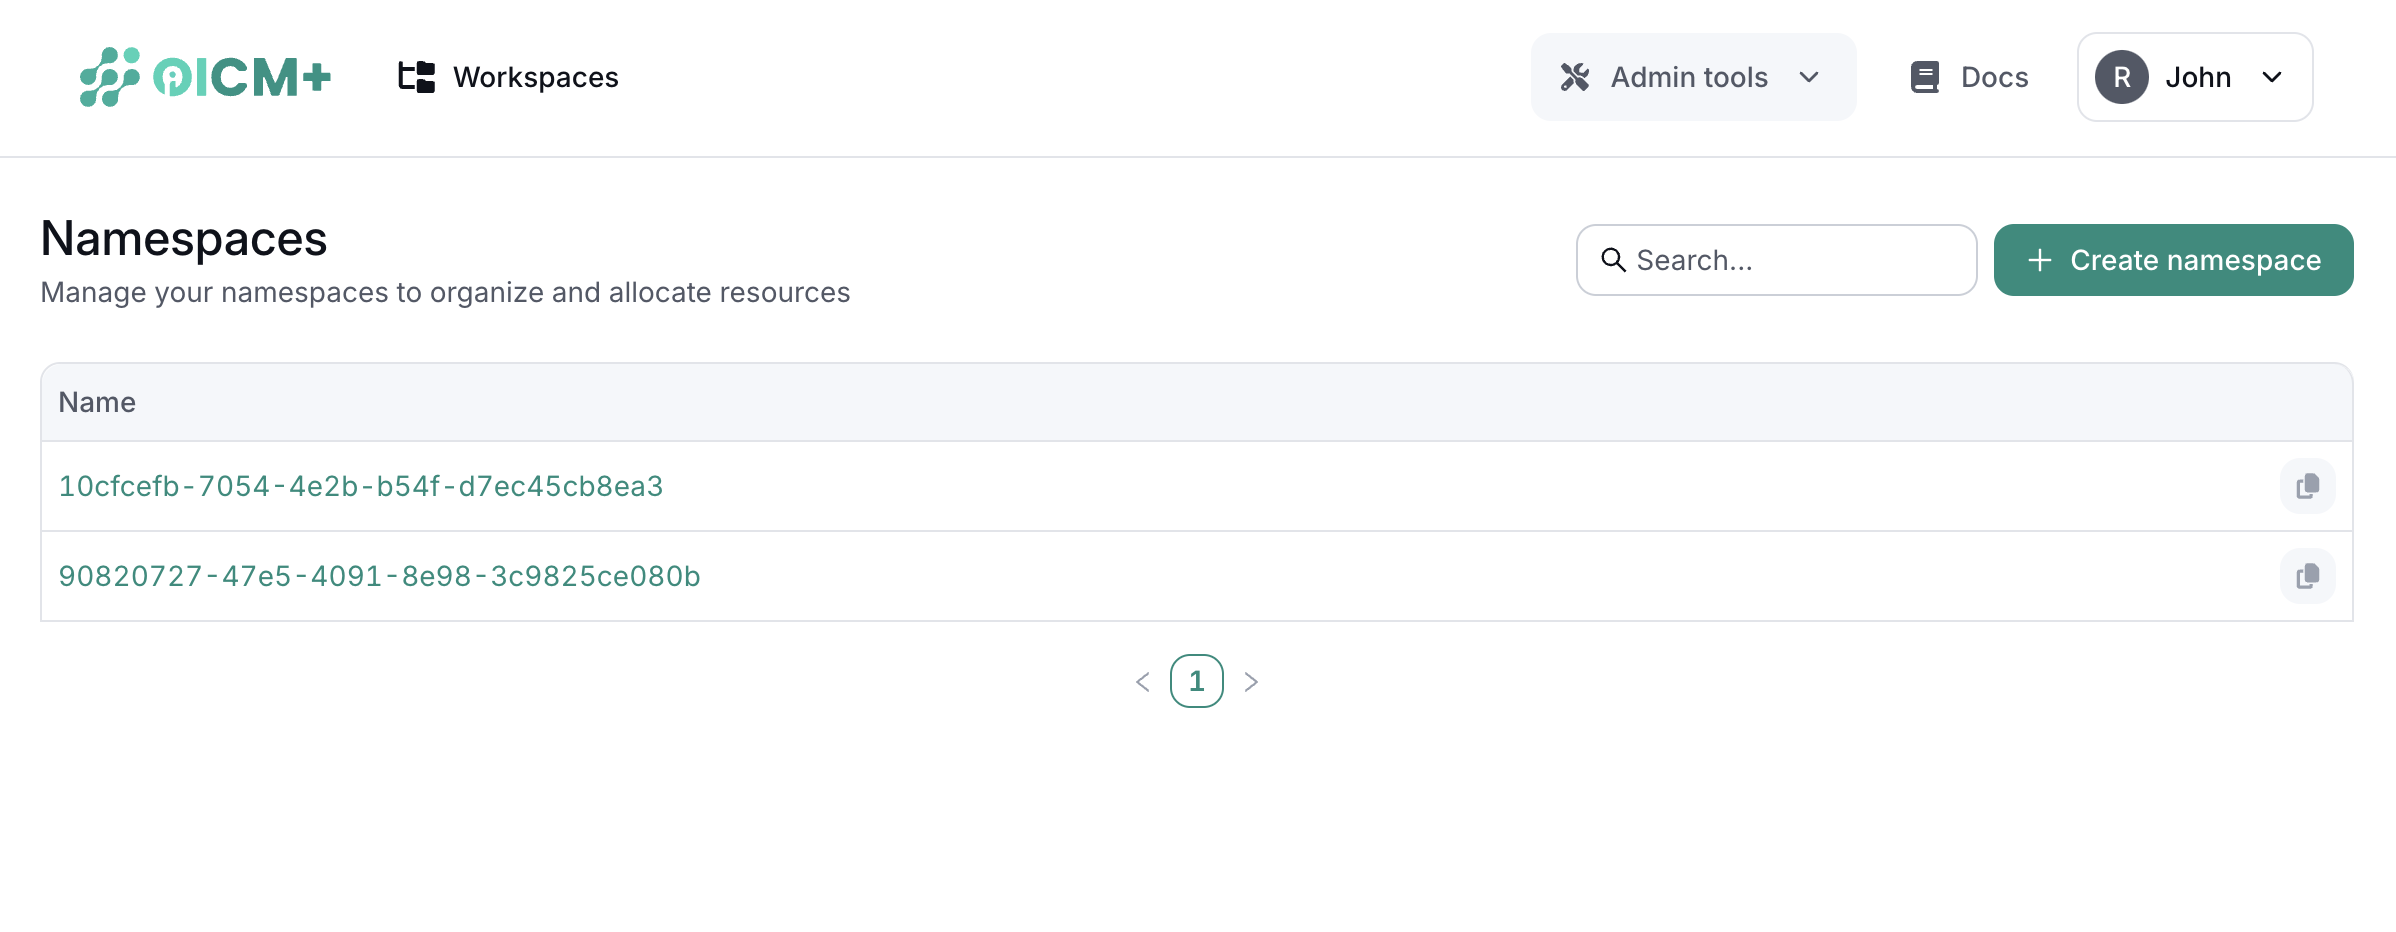
List of Namespaces
The main interface displays a table with the list of existing namespaces.
Creating a New Namespace
To create a new namespace:
- Click the "Create Namespace" button located at the top of the namespaces list.
- Enter the desired name for the namespace.
- Submit the form to create the namespace.
Specify Resources
Define the resources (CPU, memory, GPUs, etc.) that will be allocated to this namespace.
Accessing Kubernetes Configuration
By clicking on a namespace in the list, then clicking the "Generate Kubeconfig", admins can download a kubeconfig file specific to that namespace. This file is used to interact with the Kubernetes cluster through kubectl, allowing for detailed management of resources and deployments within that namespace.
Using the Kubeconfig
The user can either add this configuration to their existing kubeconfig setup or use it directly for Kubernetes operations. Below an example of how to apply a manifest using the provided kubeconfig:
Important Considerations
When deploying resources to the namespace, the user is required to specify the namespace name in the manifest file.
Example: Deploying a JupyterLab Instance
Once the namespace is created and configured, you can deploy resources within this namespace. Below is an example of a manifest file that deploys a JupyterLab instance.
apiVersion: apps/v1
kind: Deployment
metadata:
  name: jupyterlab
  namespace: <YOUR NAMESPACE NAME>
  labels:
    app: jupyterlab
spec:
  replicas: 1
  selector:
    matchLabels:
      app: jupyterlab
  template:
    metadata:
      labels:
        app: jupyterlab
    spec:
      containers:
      - name: jupyterlab
        image: cschranz/gpu-jupyter:v1.6_cuda-11.8_ubuntu-22.04_python-only
        ports:
        - containerPort: 8888
        env:
        - name: JUPYTER_ENABLE_LAB
          value: "yes"
        - name: GRANT_SUDO
          value: "yes"
- Save the above manifest as jupyterlab_deployment.yaml
- Apply the manifest to the namespace using the command:
This deployment will spin up a JupyterLab instance inside the namespace.