Model Registry
Getting Started
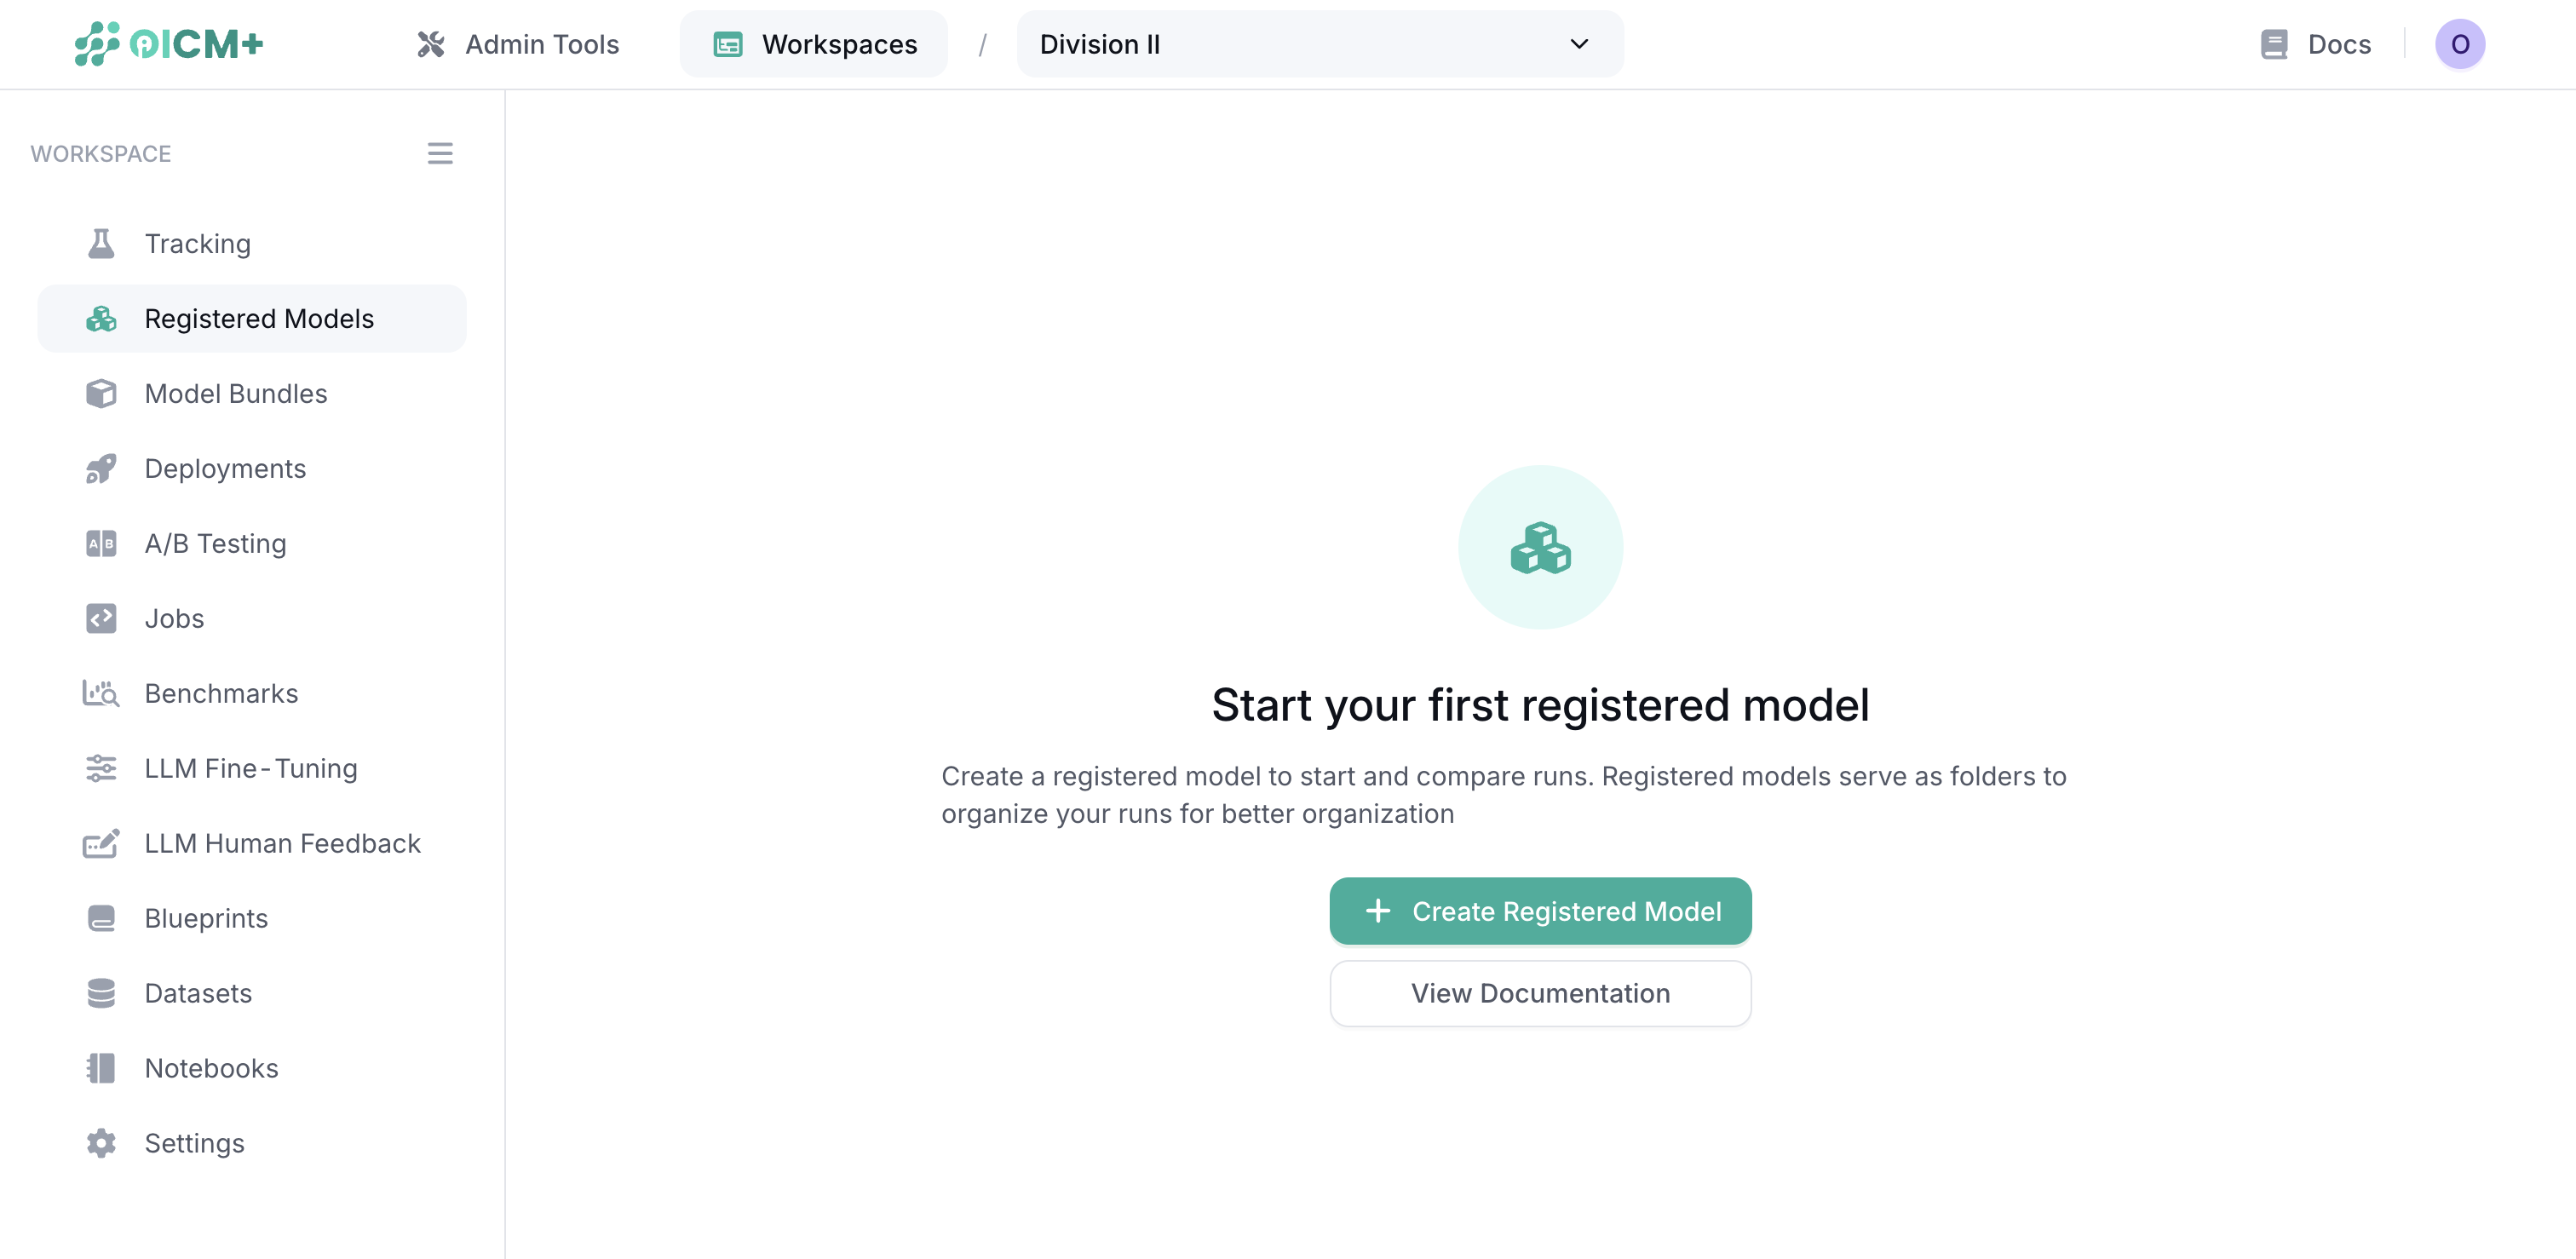
Accessing the Model Registry
- Navigate to the Models section from the main platform menu.
- The dashboard displays your custom registered models, or an empty state to start your first registry.
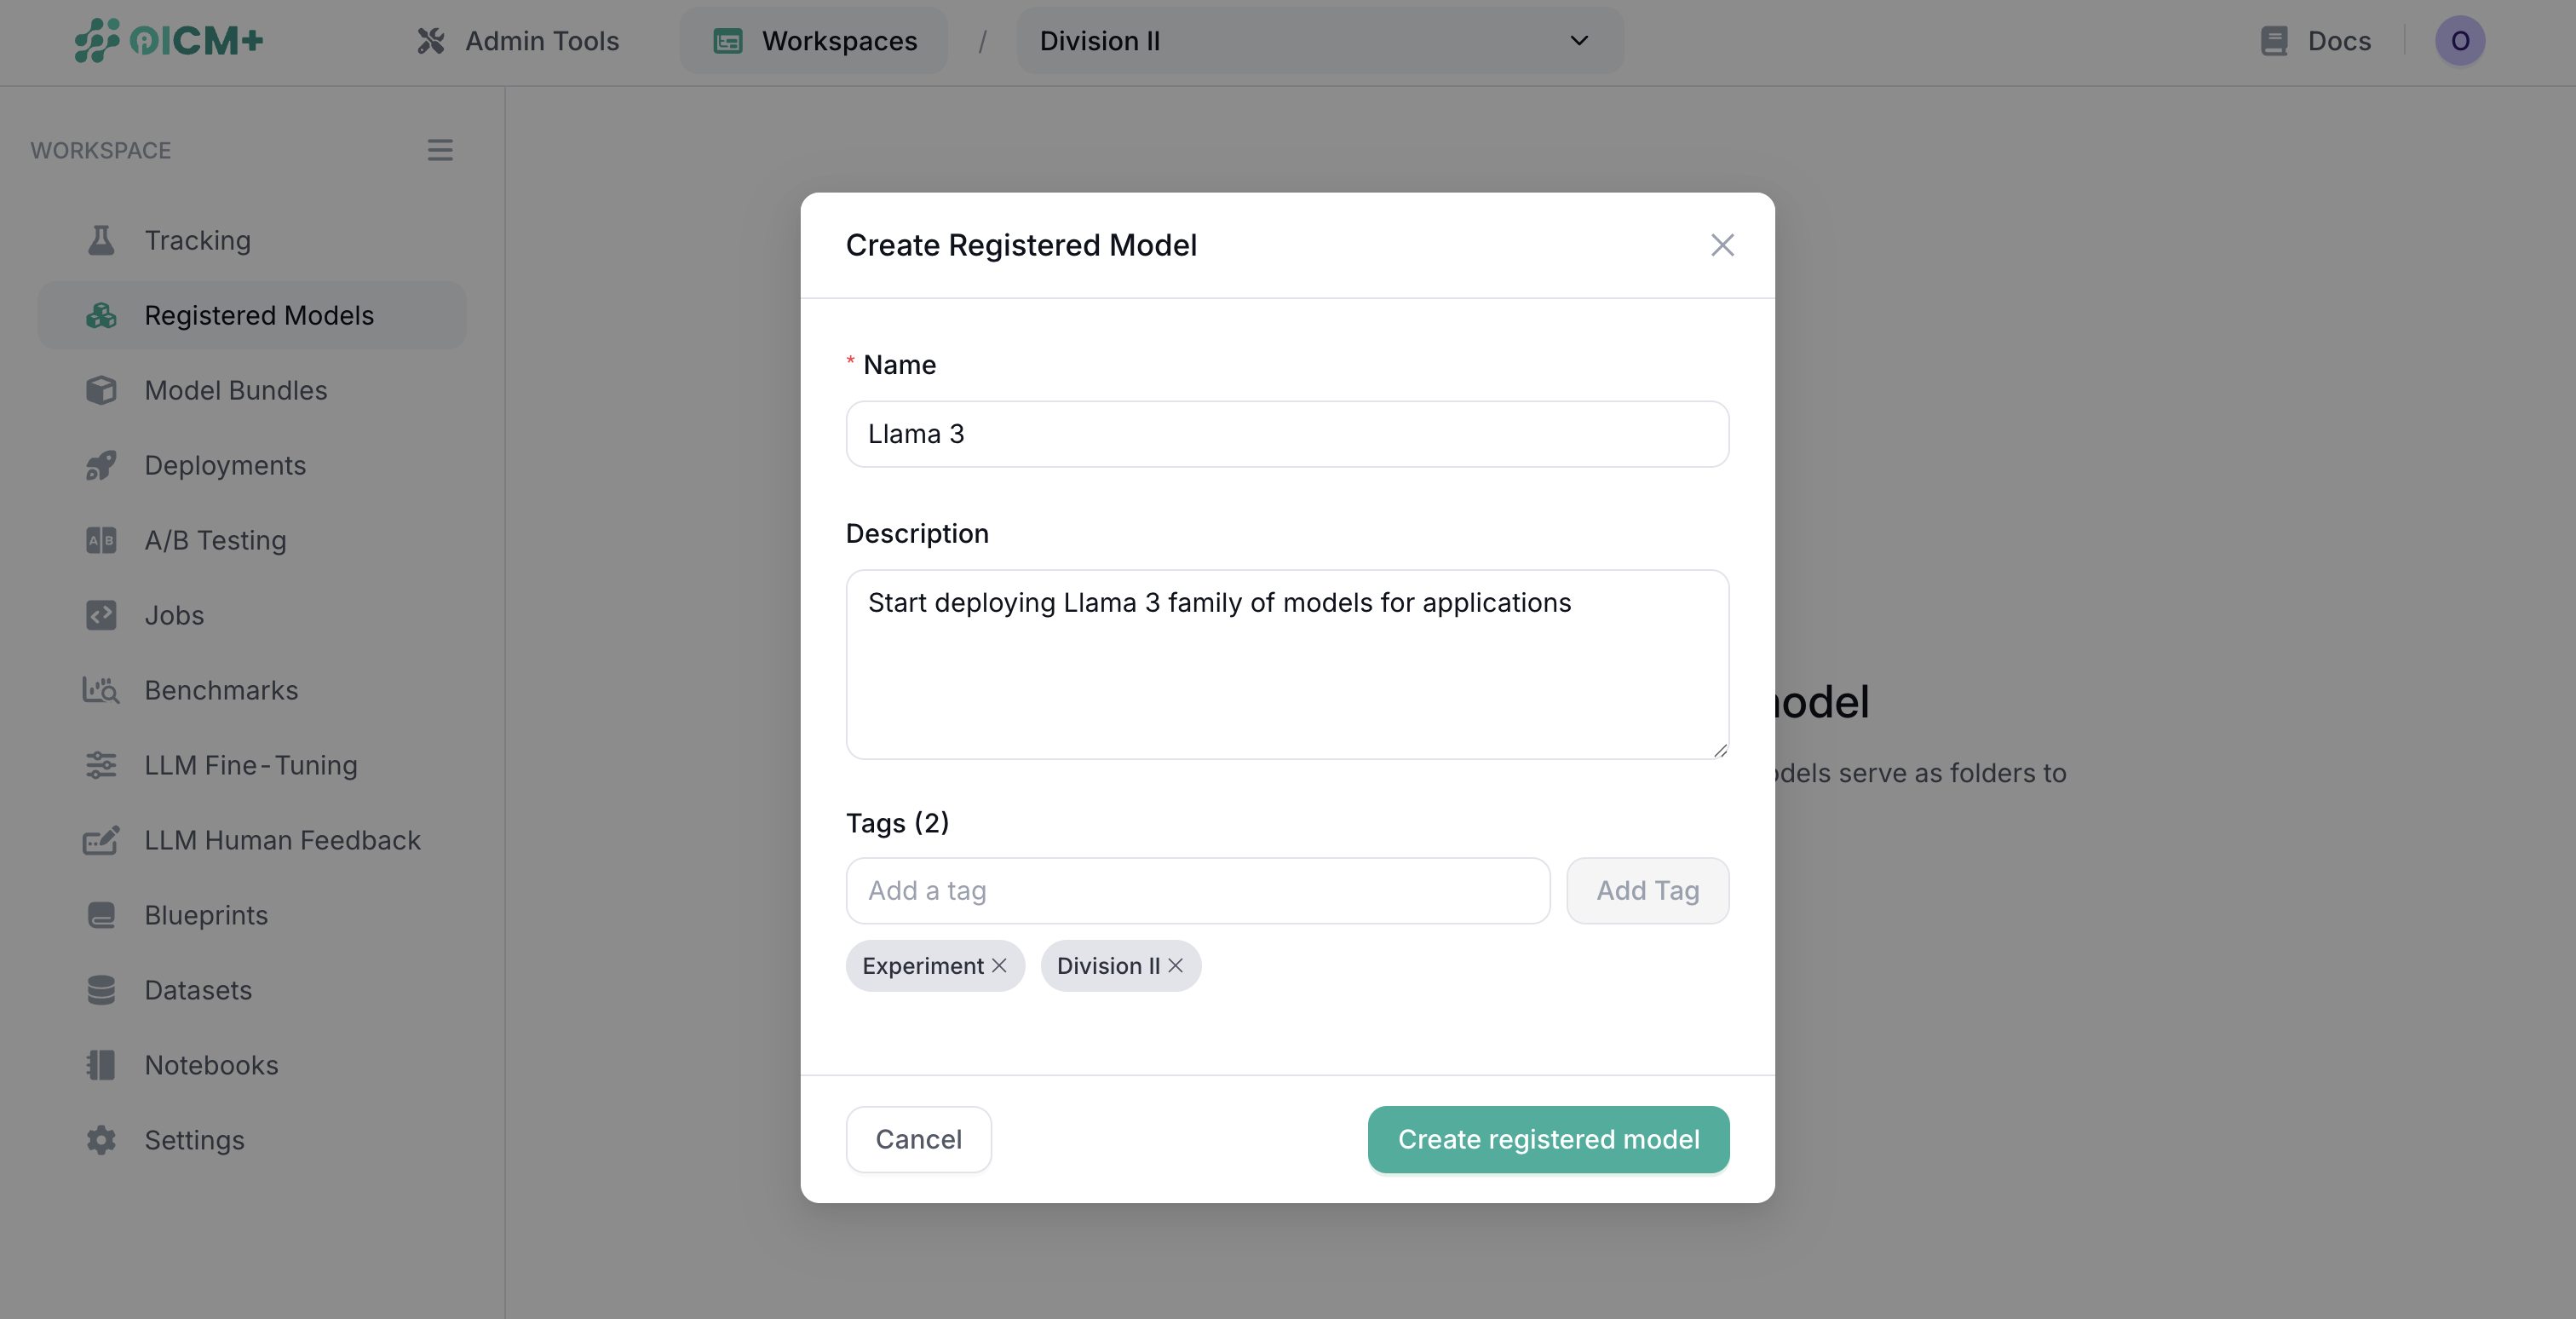
Registering a New Model
The platform uses a unified stepper to register a new model.
- Click the Register new model button.
- Step 1: Model Details
- Enter a unique name for your model.
- Select data volume where your model artifacts are hosted.
- Step 2: Model Properties
- Specify if the model is a LoRA adapter. If yes, you must select a Parent Model.
- Provide optional metadata such as description, tags, task type, and model size.
- Step 3: Review
- Review the model summary. Empty configuration fields are automatically hidden for clarity.
- Click Register to finalize and add the model to your registry.
Supported Model Sources
The Model Registry currently supports the following sources for your models:
Data Volume
Use this option when your model artifacts are stored in an OICM Data Volume.
- Required Information: Select the pre-configured Data Volume containing your model files.
Managing Models
Viewing Model Details
- Click on any registered model to view its details page.
- The details page shows the model's complete configuration and metadata.
Updating Model Information
To modify a model's metadata or configuration:
- Navigate to the specific model's details page.
- Edit the necessary fields in the Settings or Metadata tabs.
- Save your changes.
Note: Source information cannot be edited after creation to maintain model integrity. To use a different source, you must register a new model.
Next Steps
- Model Management Overview – Discover how model management integrates with the overall OICM workflow.
- Deployments UI – Explore how to monitor and manage live deployments across your clusters.