Namespace Management
Tenant admins can manage Kubernetes namespaces through the OICM+ admin tools. Namespaces let you isolate resources and workloads for different teams or projects.
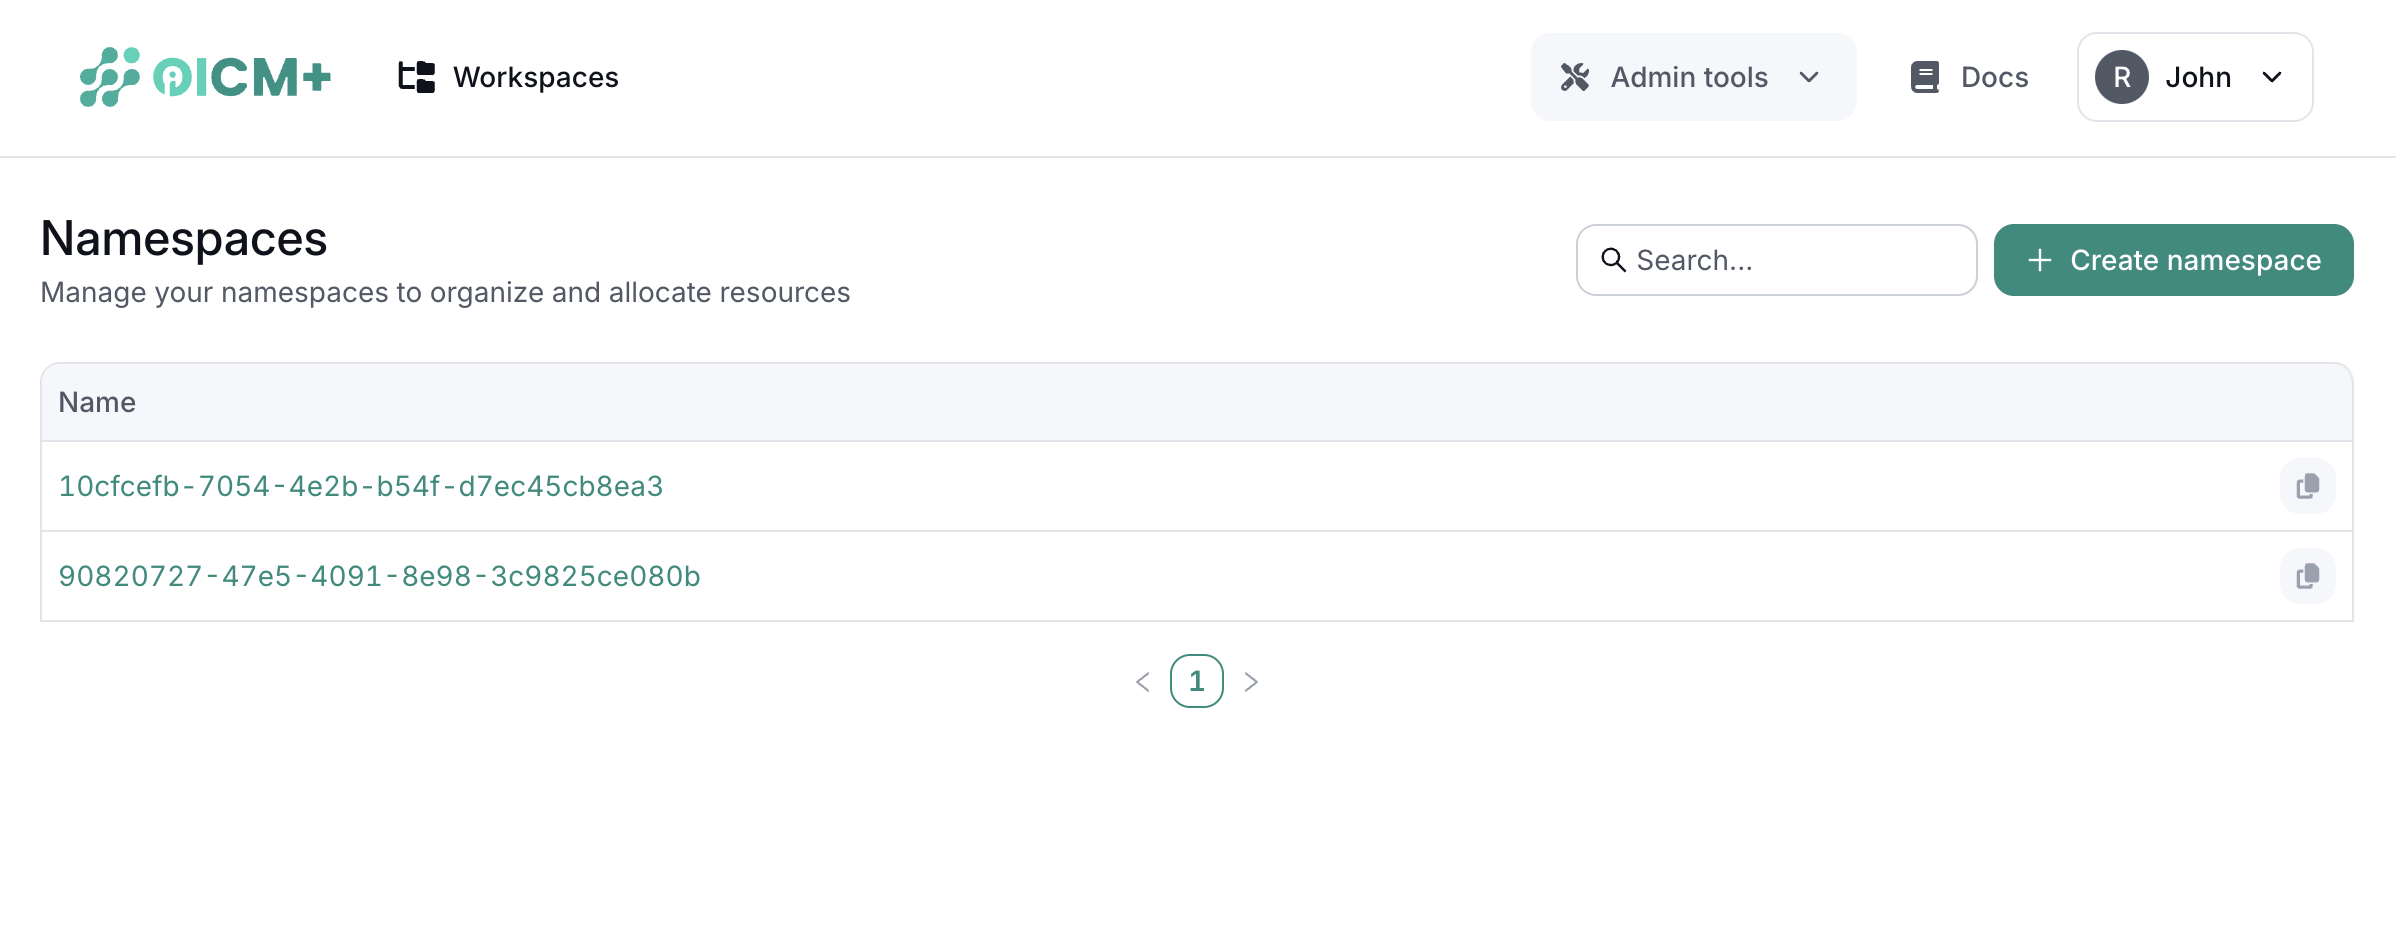
1. List of Namespaces
The main page shows existing namespaces in a table format. Each entry includes:
- Name – The namespace identifier.
- Resource Allocation – CPU, memory, and GPU limits (if assigned).
- Actions – Create, edit, or remove.
2. Creating a New Namespace
- Click Create Namespace.
- Enter a name.
- Define resource allocations (CPU, memory, GPU).
- Submit to finalize.
3. Accessing Kubernetes Configuration
After creating a namespace:
- Select the namespace.
- Click Generate Kubeconfig to download a namespace-specific config file.
Example: Use kubeconfig with kubectl:
This config ensures all Kubernetes commands apply specifically to this namespace.
4. Important Considerations
- Namespace Required Always reference the correct namespace in your Kubernetes manifests.
- Resource Isolation CPU, memory, and GPU settings help prevent resource conflicts among tenants.
5. Example: Deploying JupyterLab
apiVersion: apps/v1
kind: Deployment
metadata:
  name: jupyterlab
  namespace: <YOUR_NAMESPACE_NAME>
labels:
    app: jupyterlab
spec:
  replicas: 1
  selector:
    matchLabels:
      app: jupyterlab
  template:
    metadata:
      labels:
        app: jupyterlab
    spec:
      containers:
      - name: jupyterlab
        image: cschranz/gpu-jupyter:v1.6_cuda-11.8_ubuntu-22.04_python-only
        ports:
        - containerPort: 8888
        env:
        - name: JUPYTER_ENABLE_LAB
          value: "yes"
        - name: GRANT_SUDO
          value: "yes"
- Save as
jupyterlab_deployment.yaml. - Apply:
This spins up a JupyterLab instance within your specified namespace.
Next Steps
- Resource Allocation – Assign CPU, memory, and GPU to each namespace.
- Cluster Monitoring – Track node health and performance metrics.
- Usage Monitoring – Analyze resource consumption trends across your tenant’s namespaces.