Tenant Management
Super admins can create and administer tenants in the OICM+ platform, ensuring efficient resource segregation and multi-tenant access control.
1. Overview
The Tenant Management page lists all tenants and provides tools for adding new tenants or modifying existing ones.
2. Managing Tenants
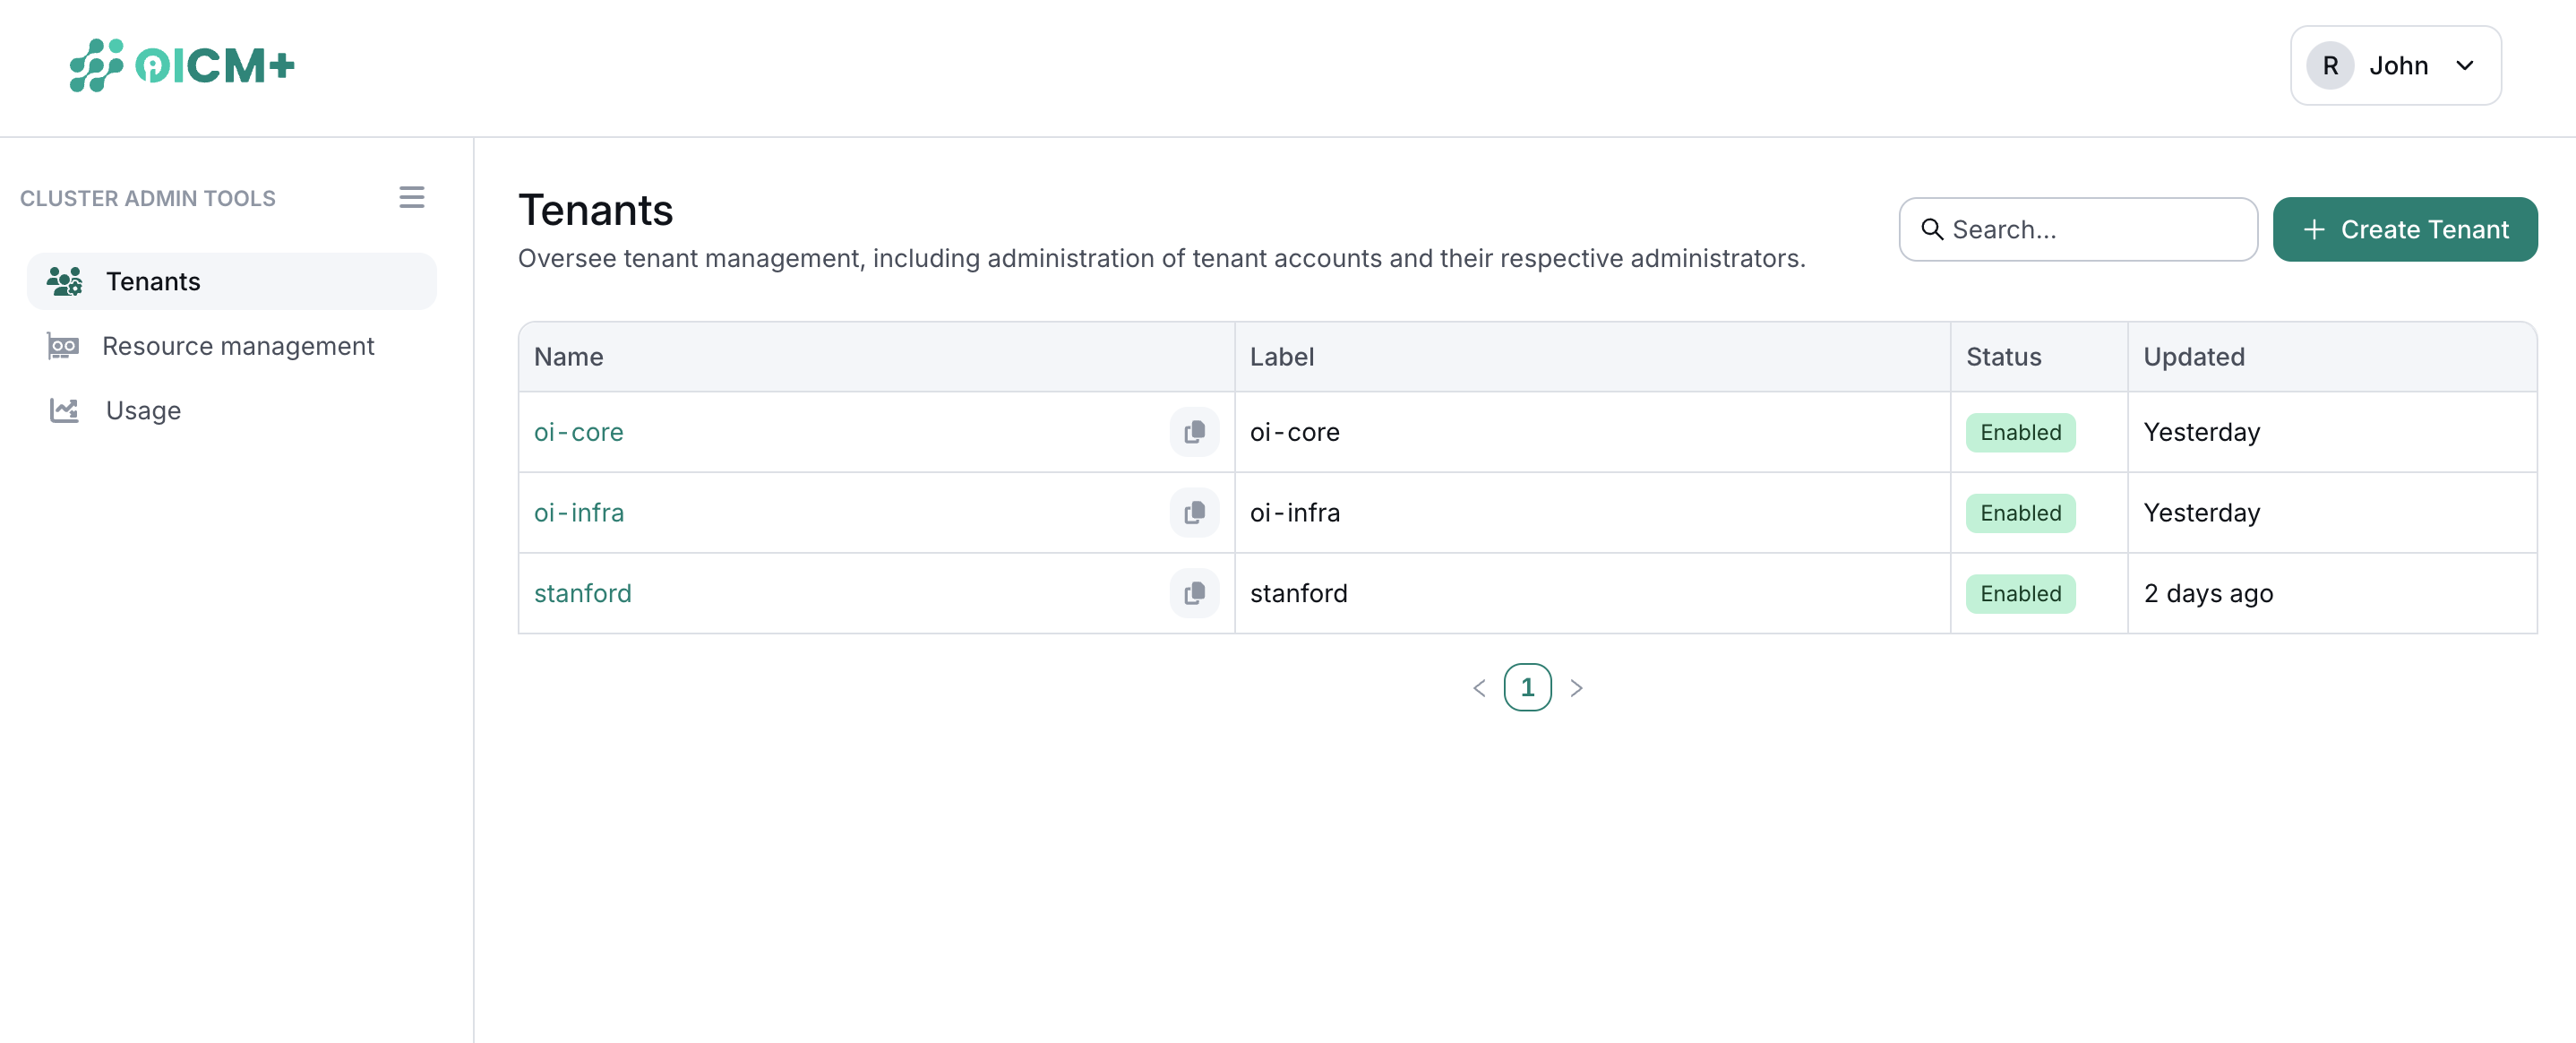
2.1 Tenant List
A table displays each tenant’s:
- Name: Tenant identifier (e.g. used in login)
- Label: Name of the tenant displayed in the FE
- Status: Active/Inactive. When Inactive no actions are allowed on the tenant resources
- Updated: last time an admin action was performed on the tenant configuration
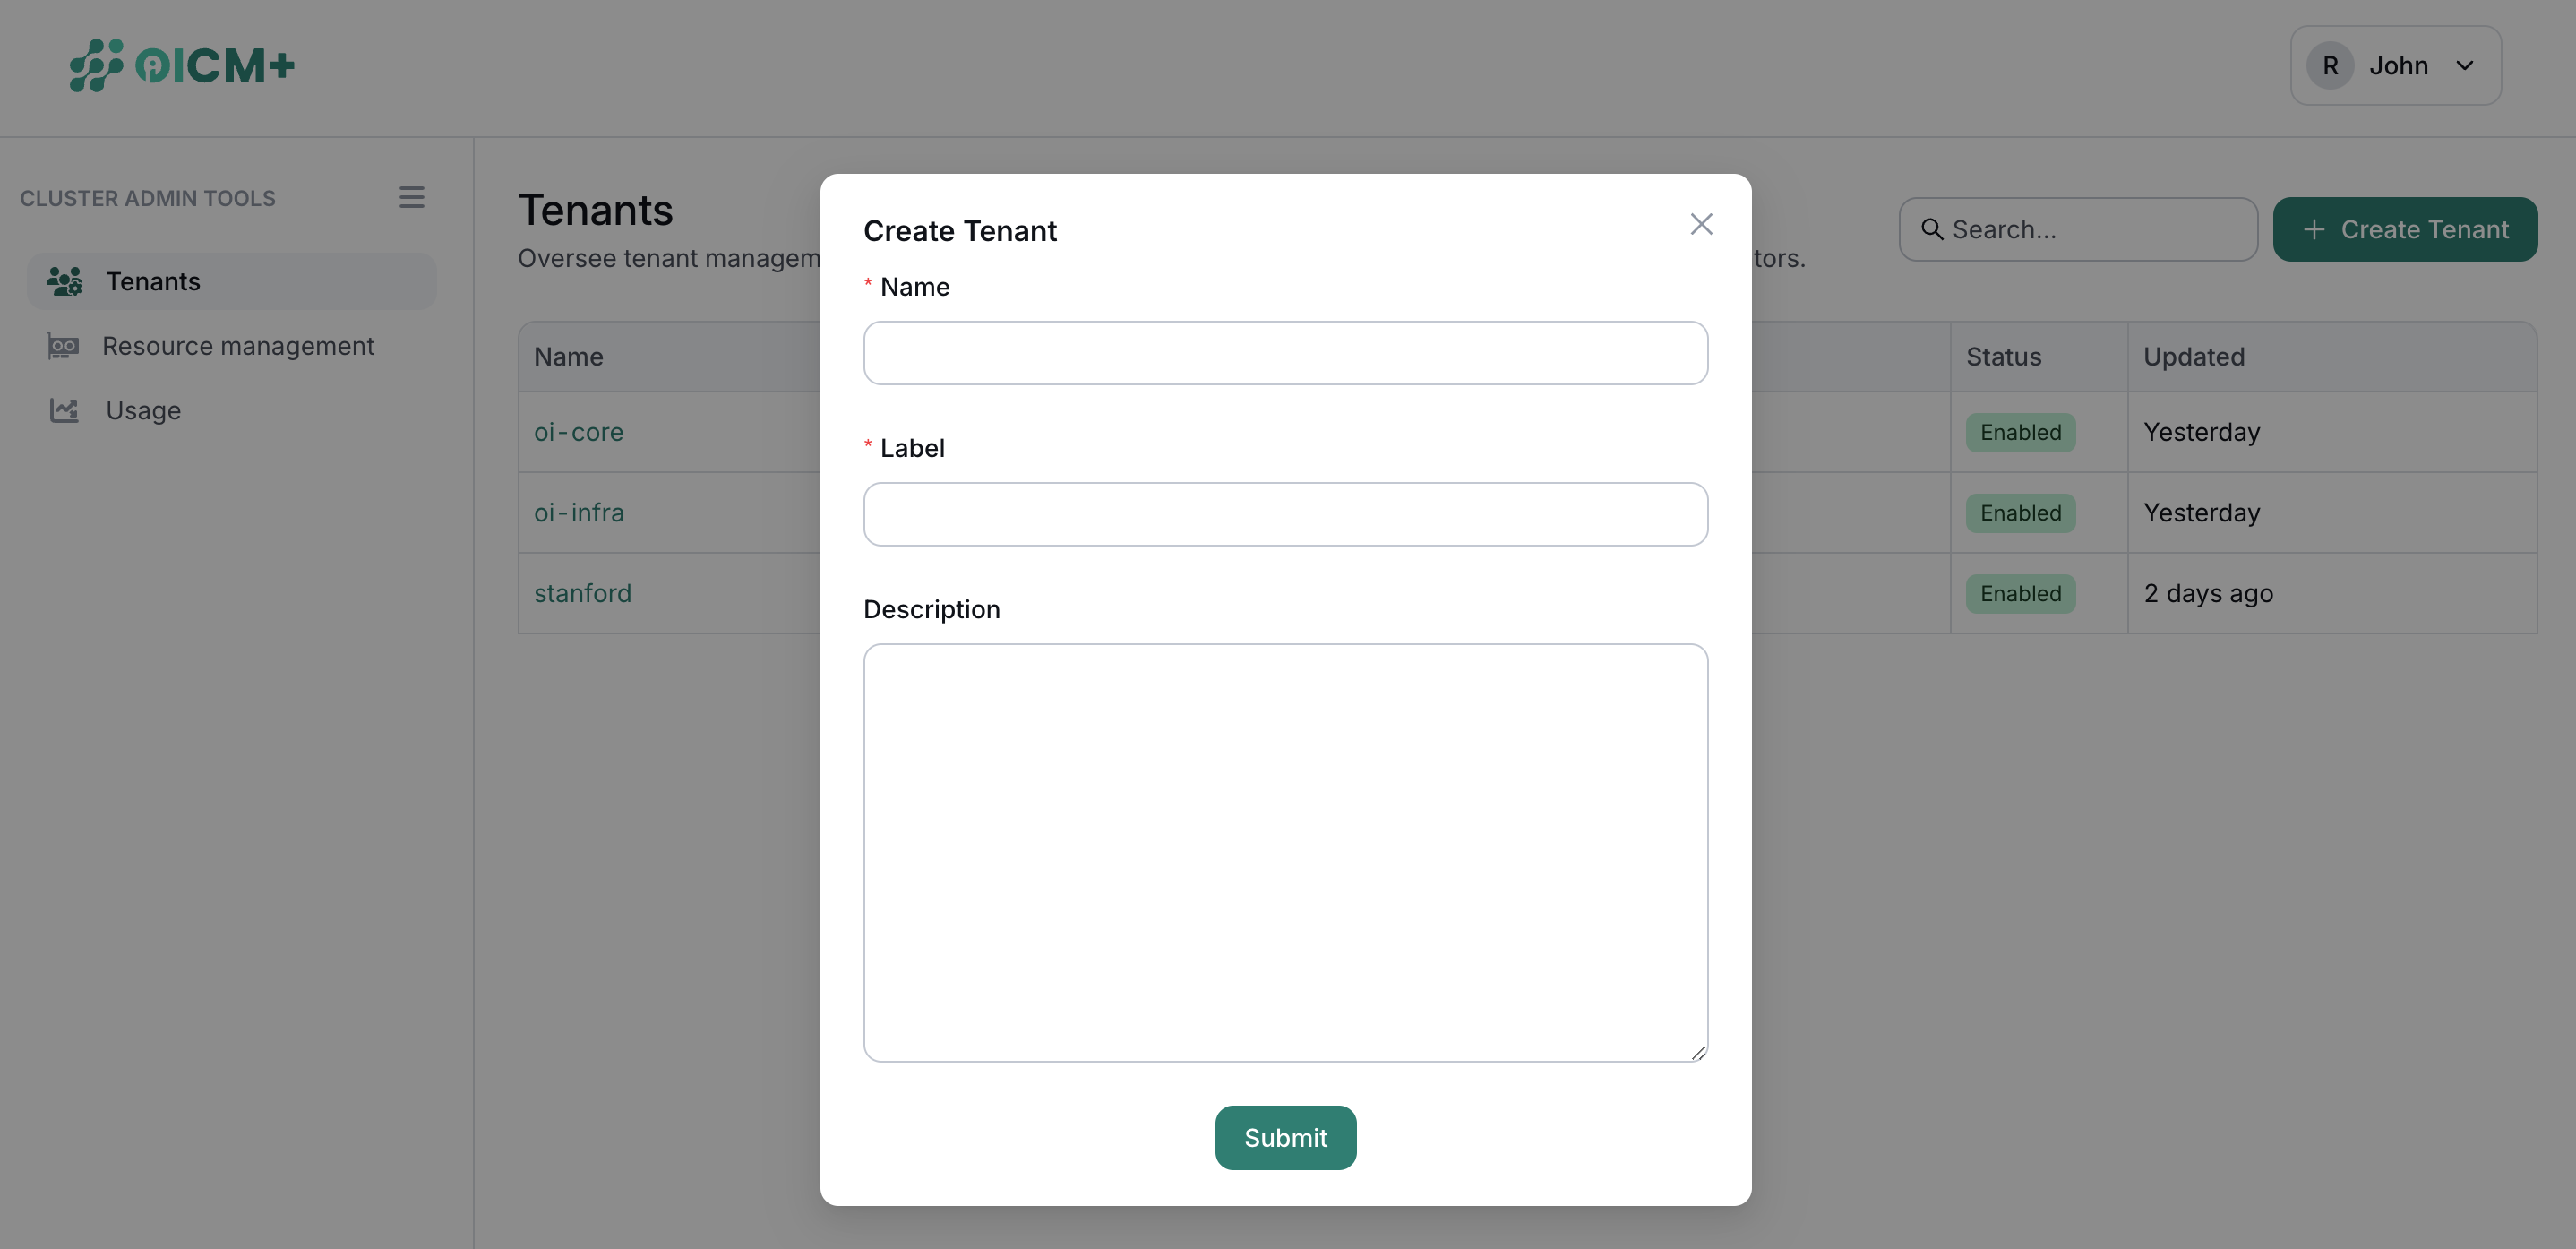
2.2 Creating a New Tenant
- Click Create Tenant above the tenant list.
- Enter tenant name and label in the form.
- Submit to finalize creation.
3. Tenant Page
Selecting a tenant from the list opens a dedicated page with details about tenant admins and other management options.
3.1 Managing Tenant Admins
The tenant page includes a Tenant Admins table, showing:
- Username
- Actions (e.g., delete)
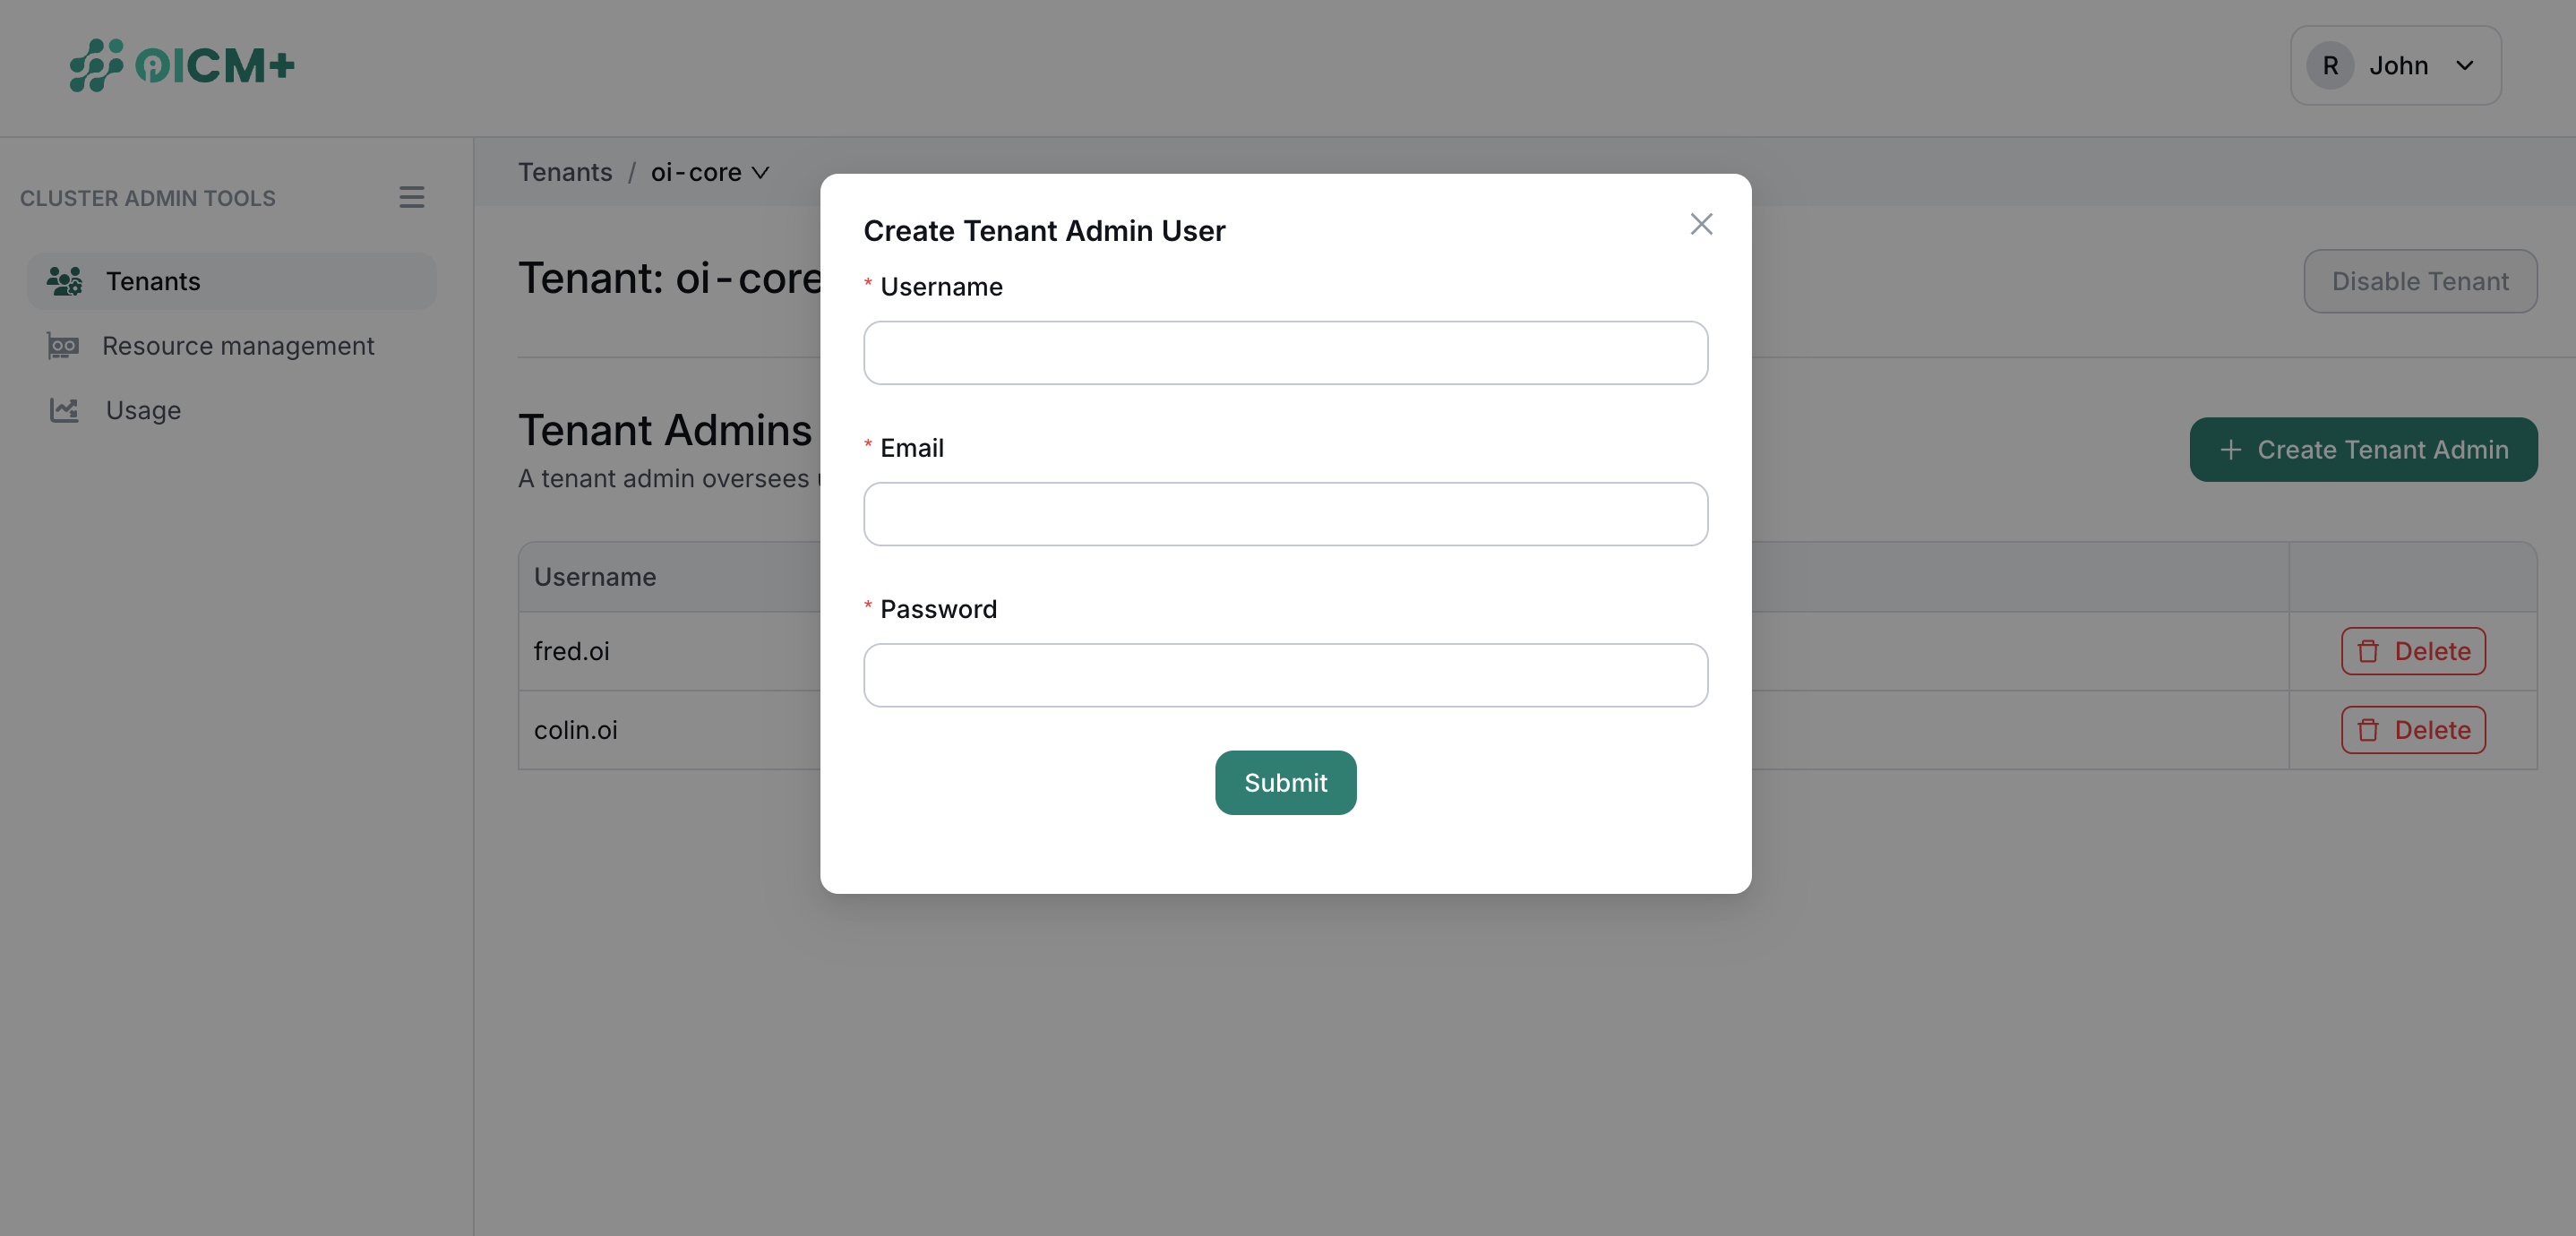
3.2 Adding a Tenant Admin
- Click Create Tenant Admin.
- Fill the form with admin username, email, and password.
- Submit to create the admin account.
Next Steps
- Tenant Admin Tools Overview – Explore tenant-level administrative capabilities.
- Cluster Monitoring – Track node and GPU health for assigned tenants.
- Resource Management – Assign and monitor nodes across tenants.