ASR Benchmark UI
Under the ASR Benchmark tab, you can view and manage all configured ASR benchmarks.
1. Package Configuration
1.1 Overview
On the main ASR Benchmark page, you’ll see all benchmark packages currently defined:
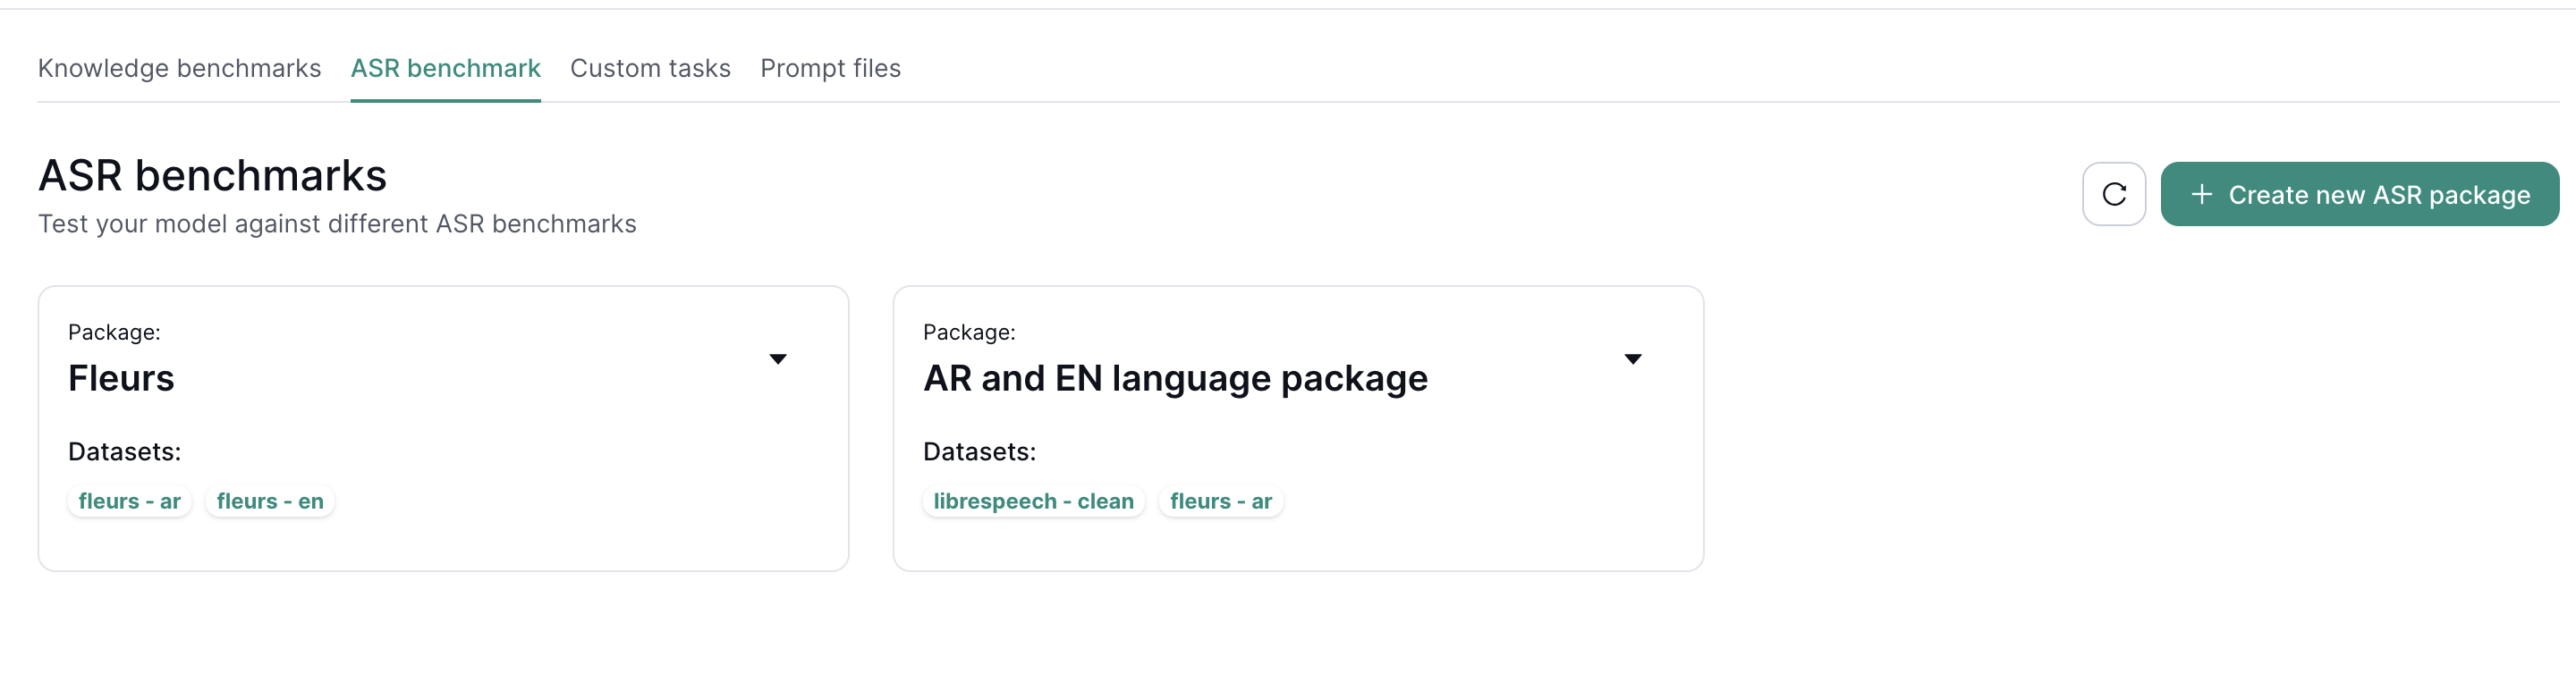
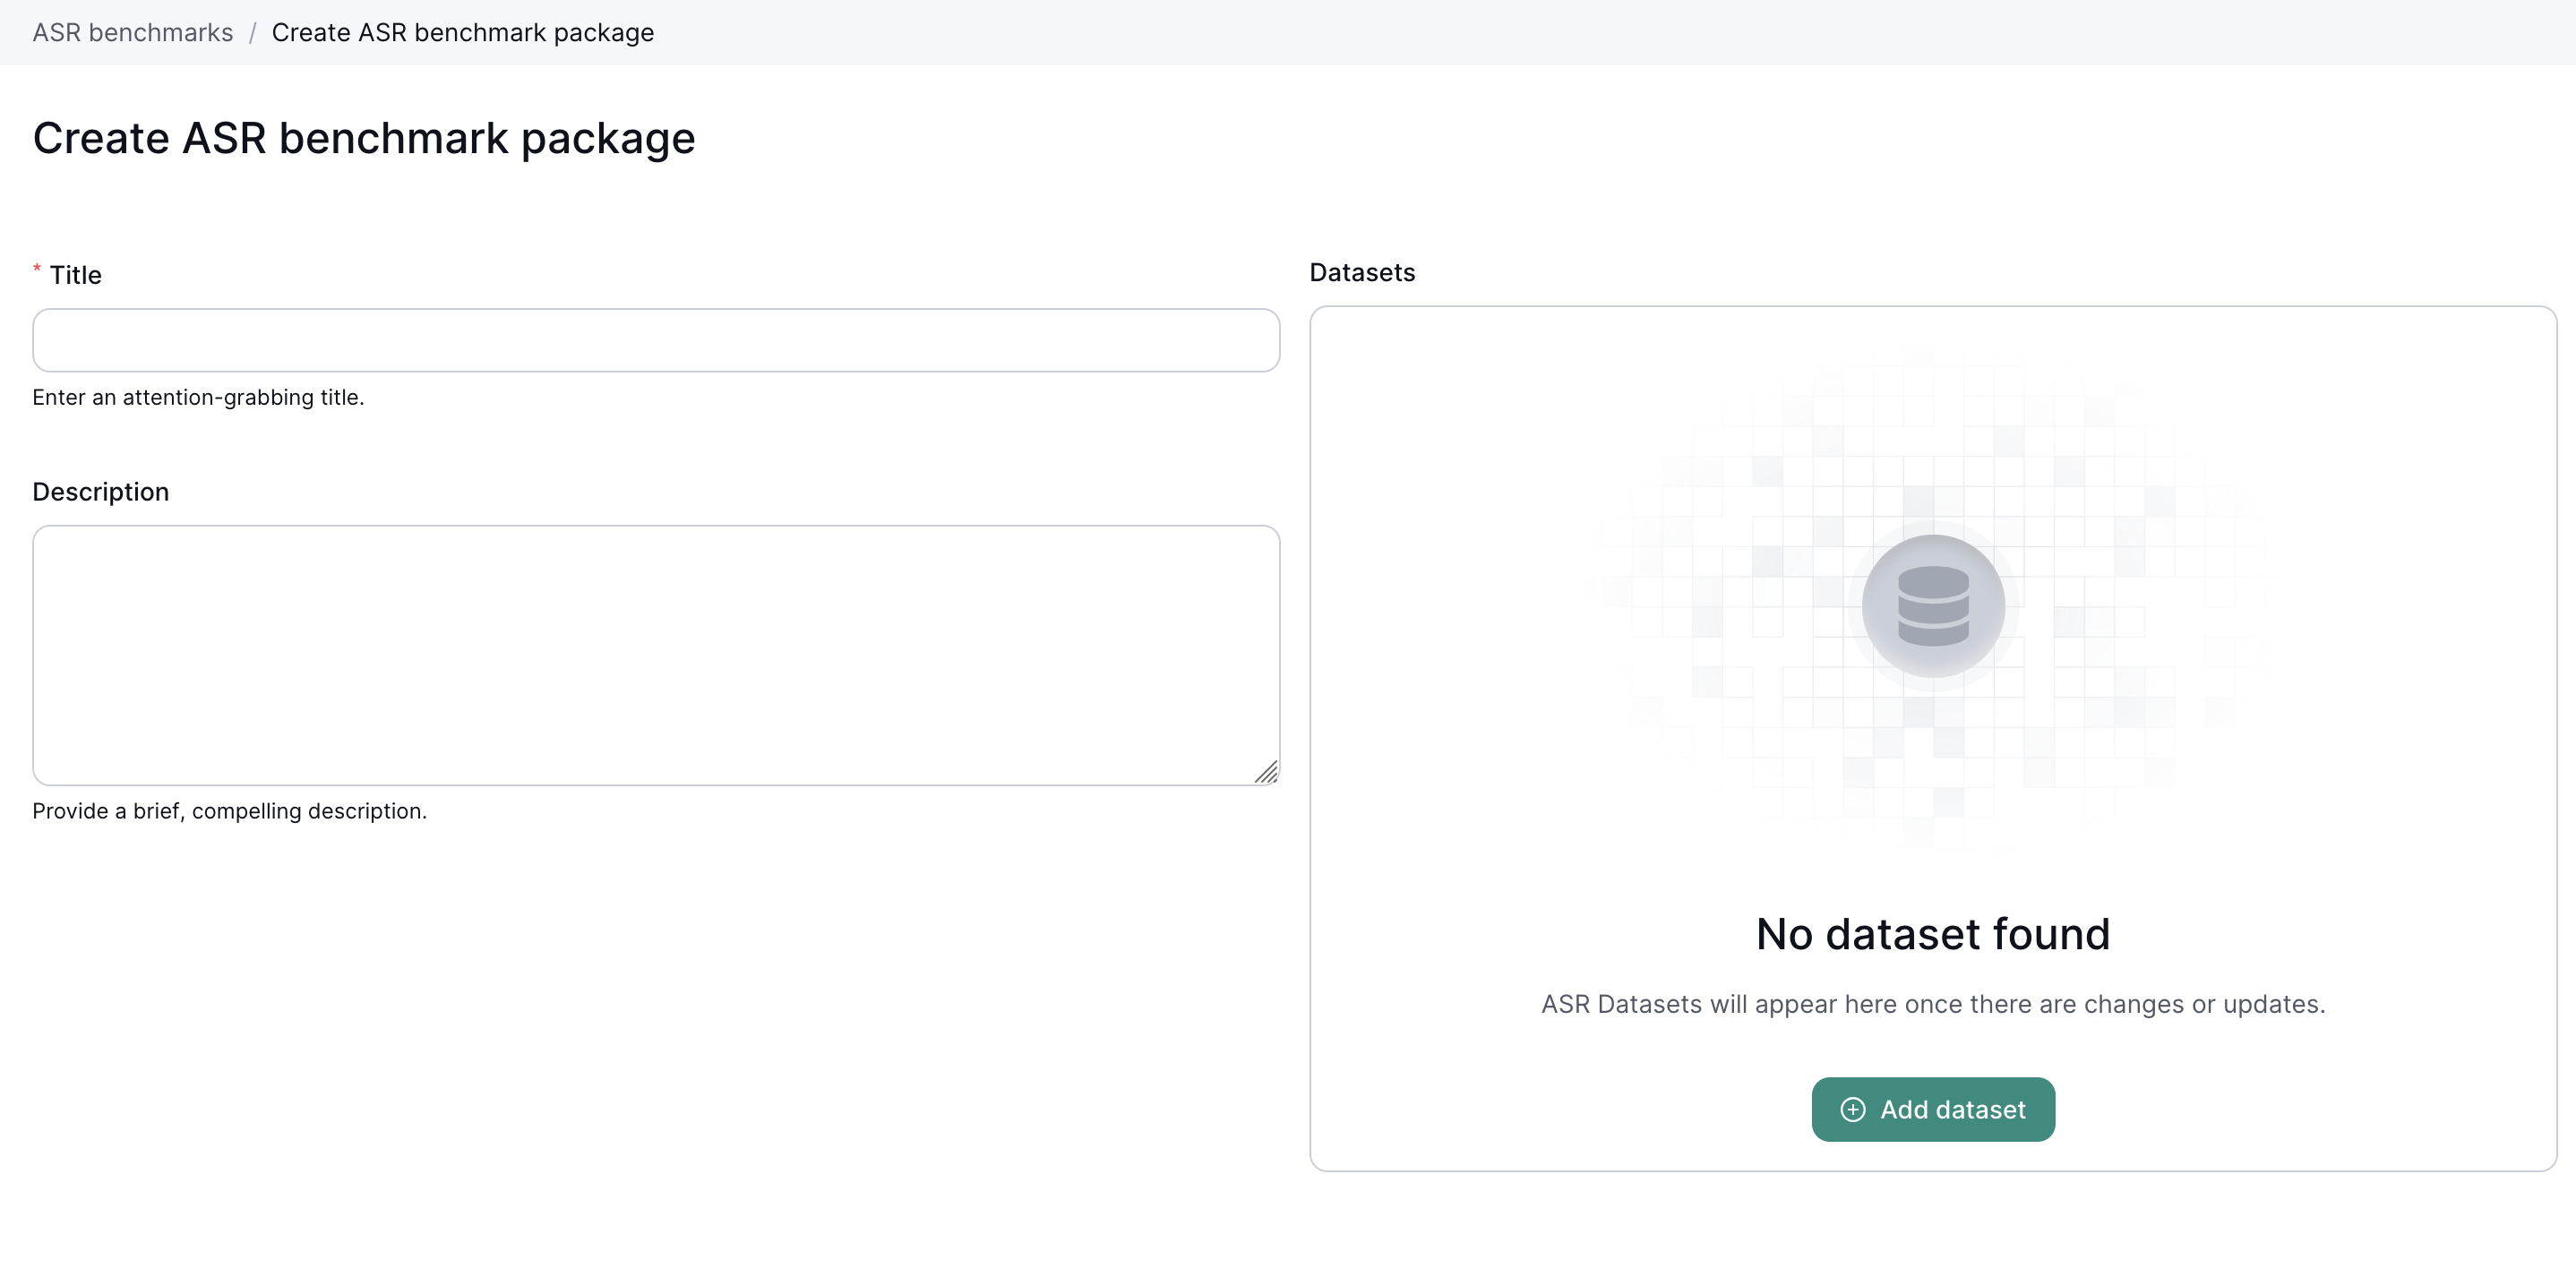
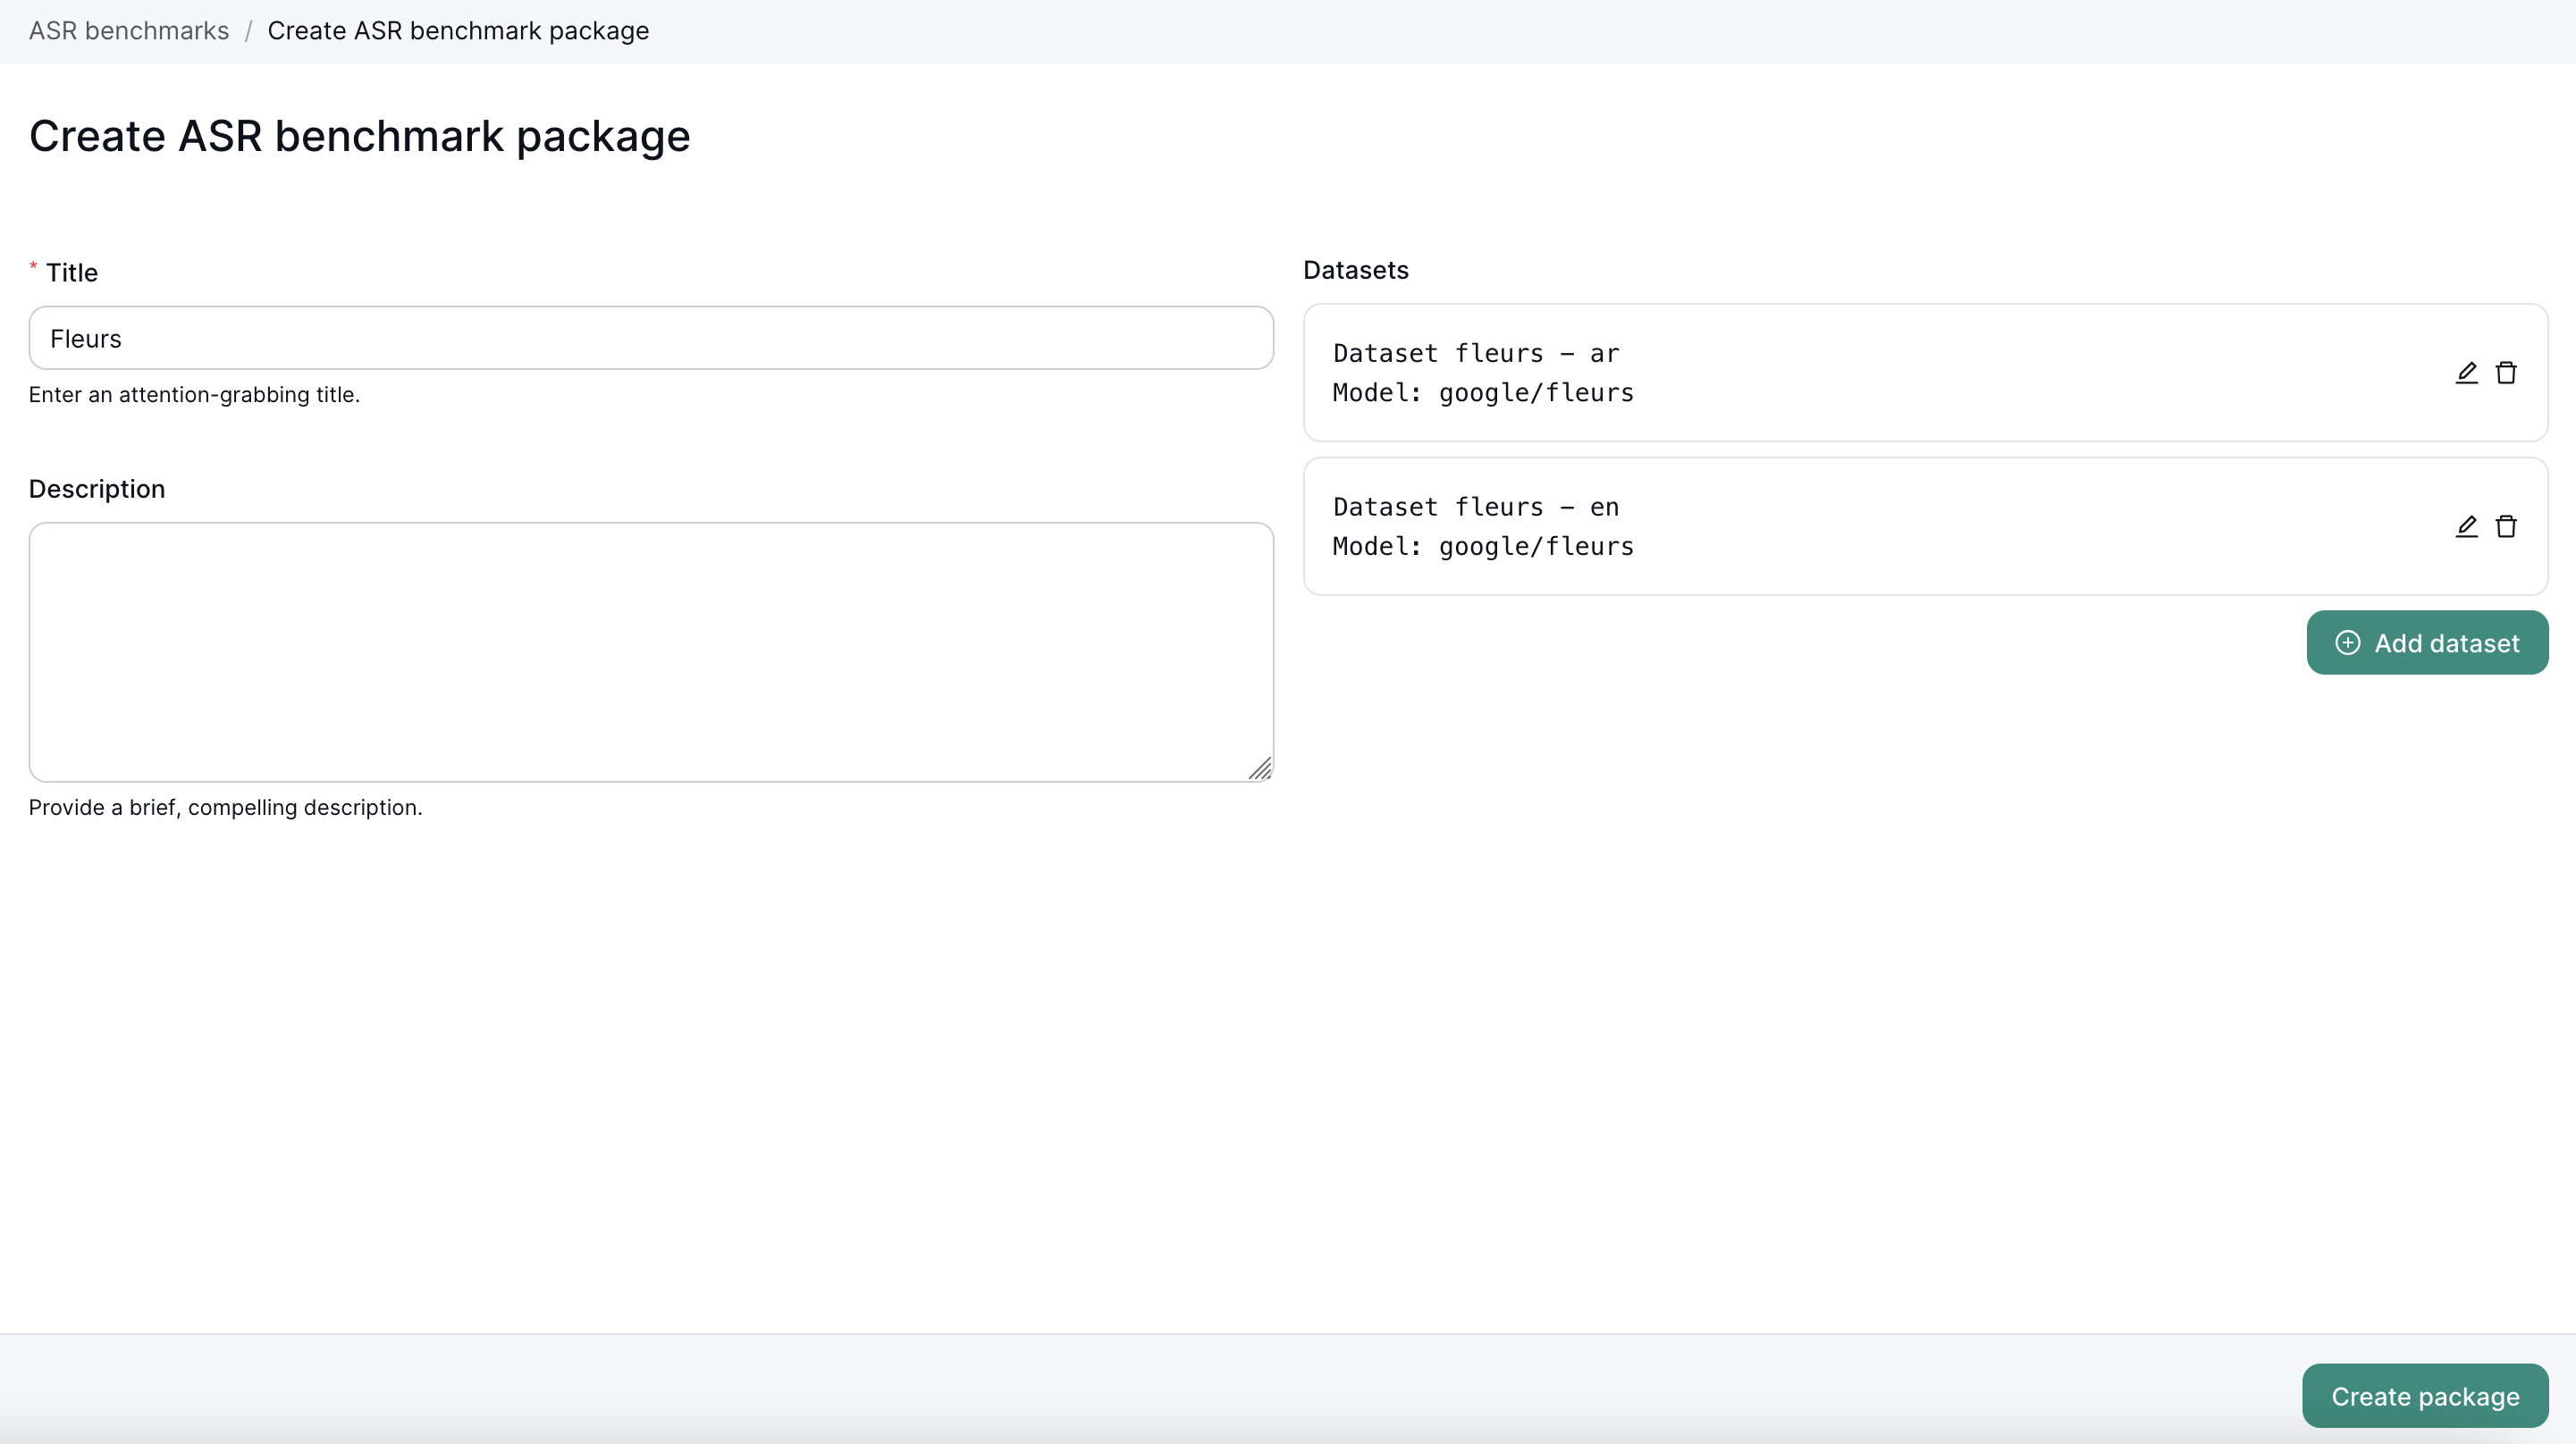
1.2 Create a New Benchmark Package
- Click Create new ASR package.
- Add Dataset – Each package can contain multiple datasets.
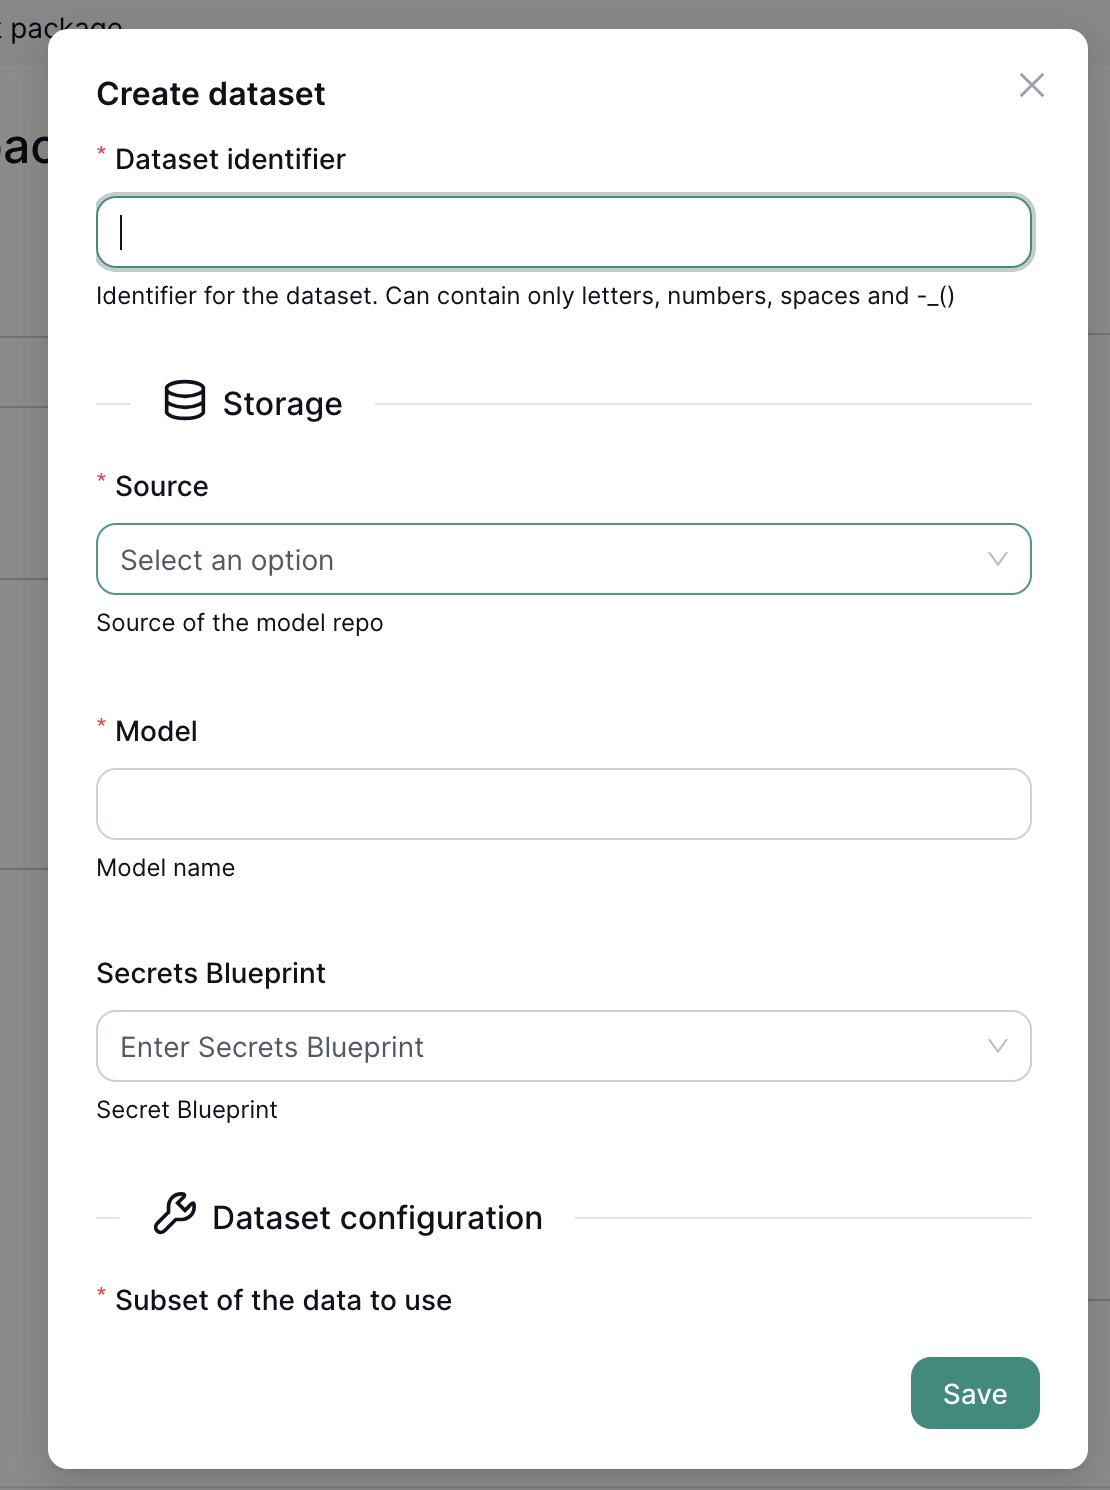
- Configure each dataset with:
- Dataset Identifier – A unique label.
- Source & Model – Point to your audio dataset (e.g., from HuggingFace Datasets).
- Dataset Configuration – Subset, split (train/test/validation), and the specific audio/transcription columns.
- Normalizer – (Optional) Applies text normalization before comparing transcripts.
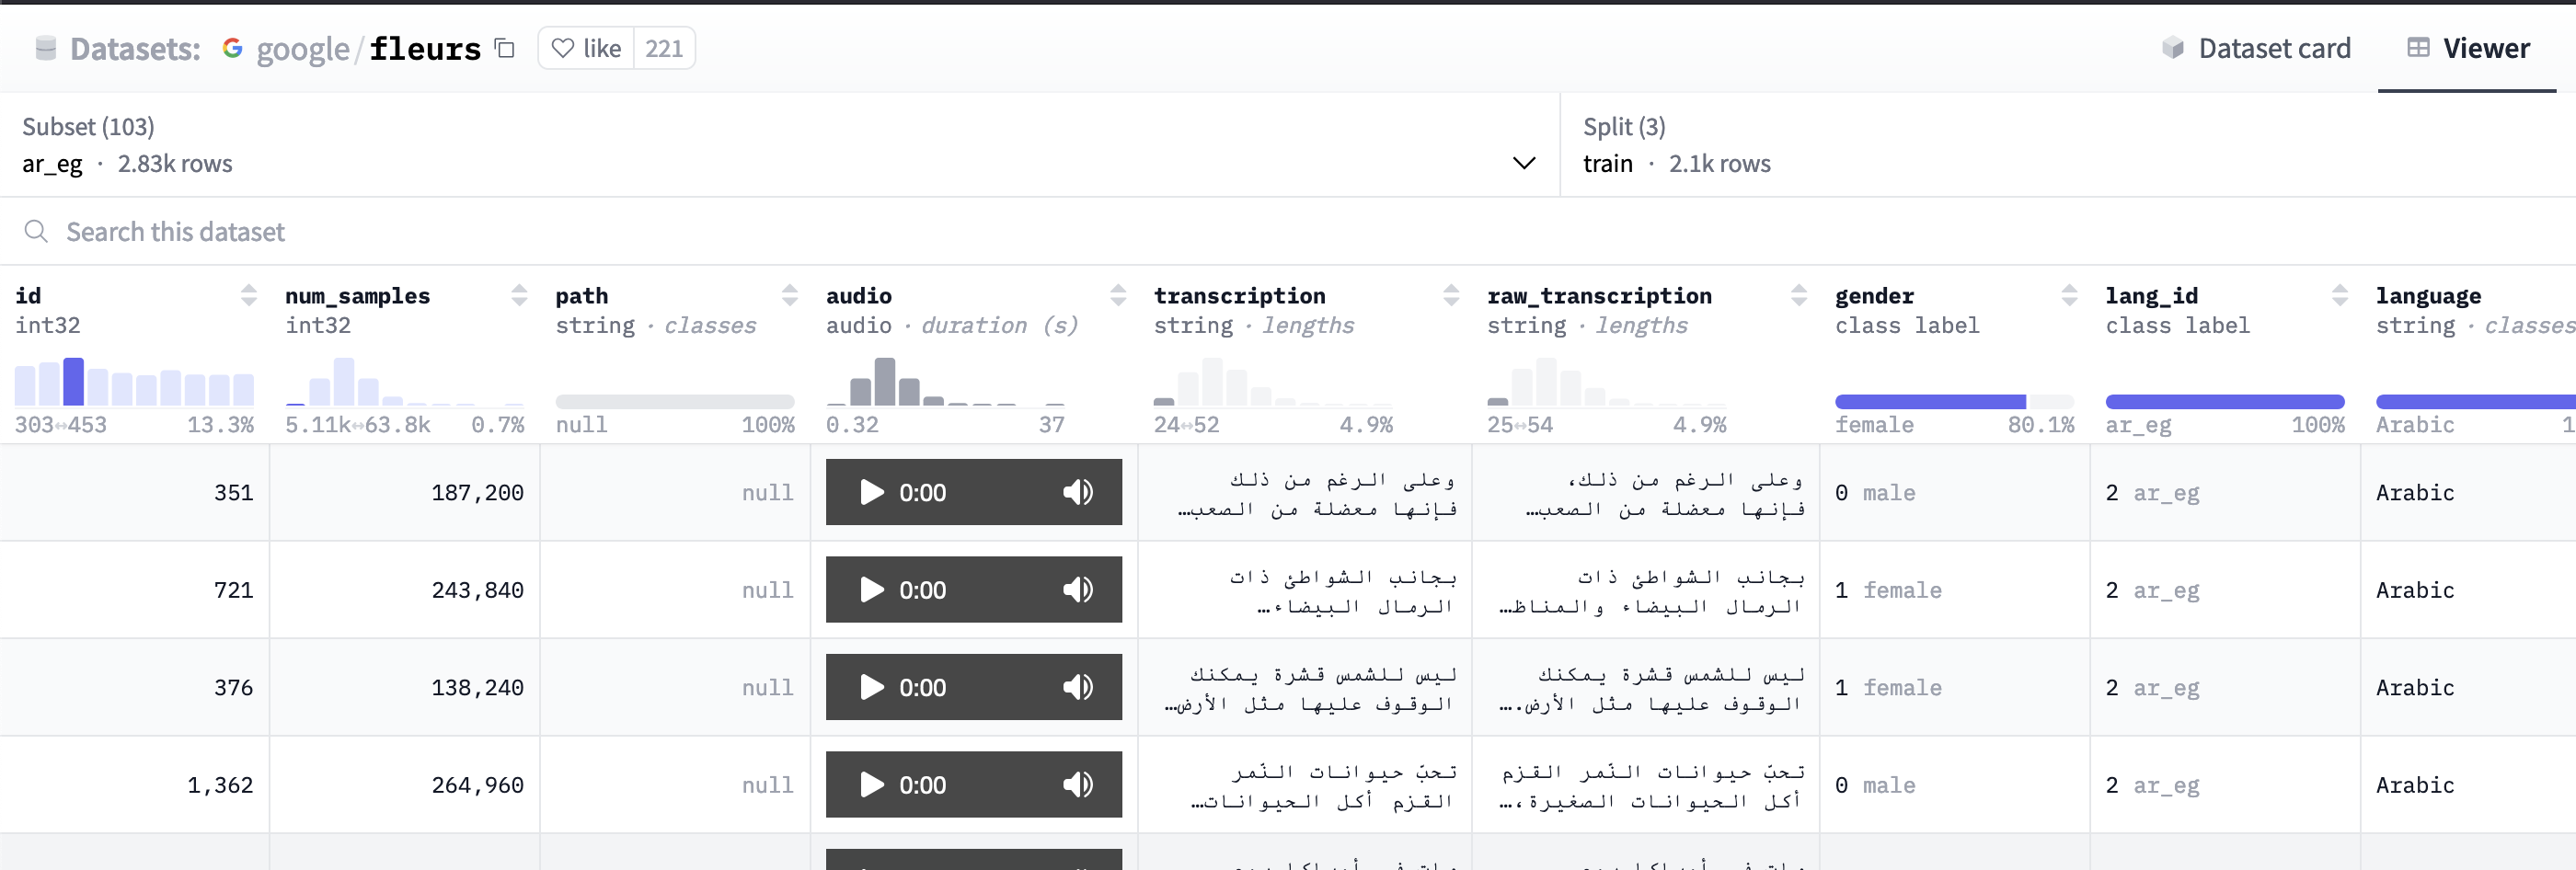
Tip: For HuggingFace datasets, check the Viewer tab to find valid subset and split names.
 4. Save the package after adding the desired datasets.
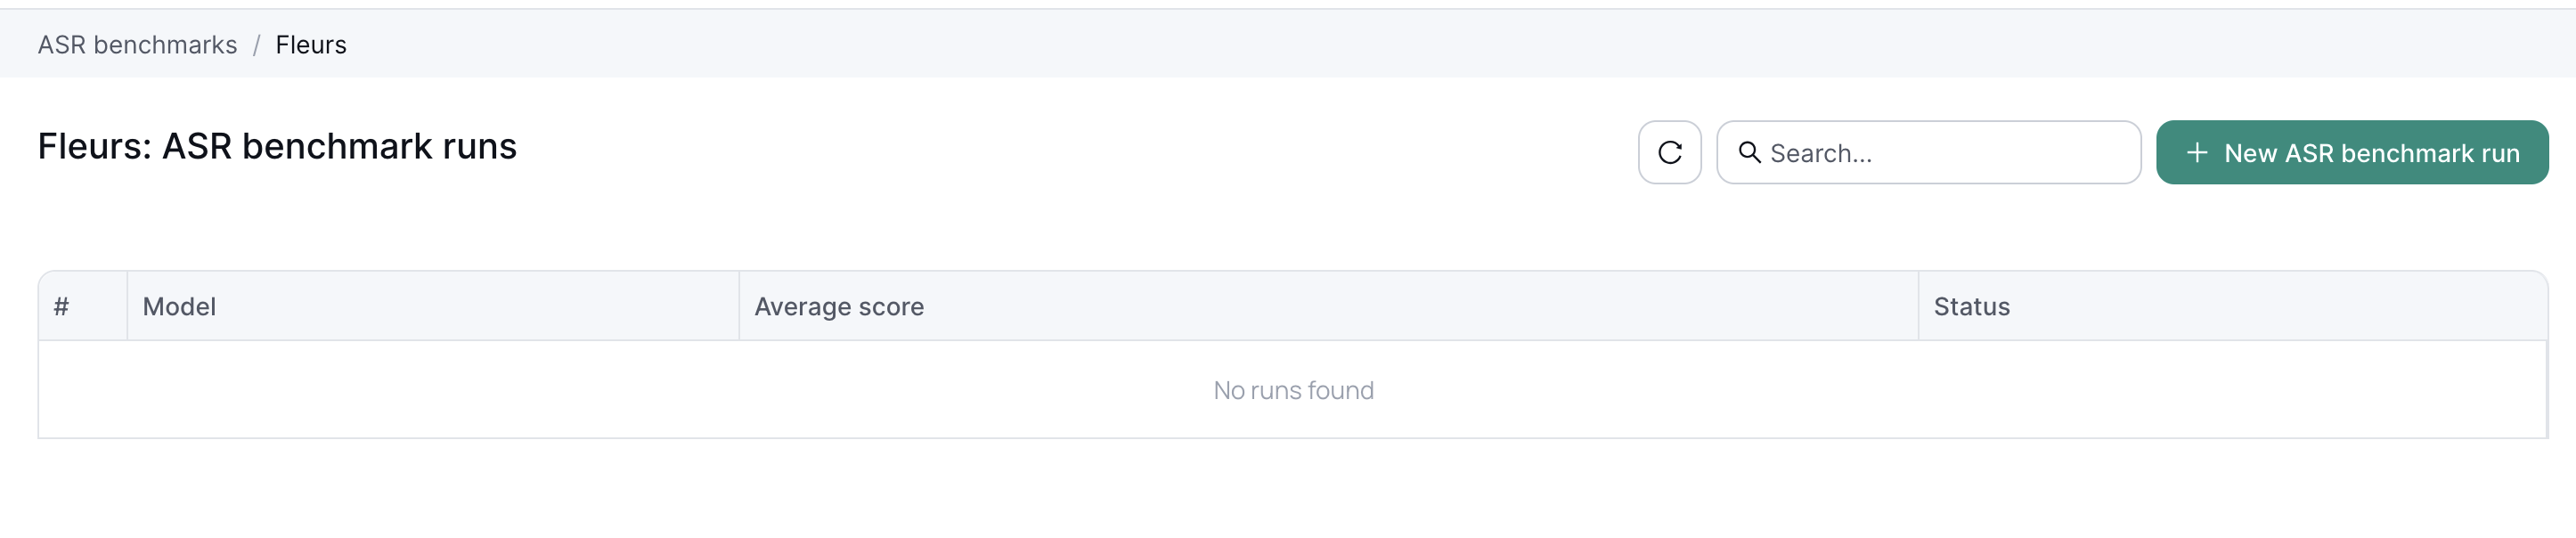
2. Running a Benchmark
- Select an existing package.
- Click New ASR Benchmark Run.
- Specify the model, required resources (CPU/GPU), and any additional settings.
- Run Benchmark.
Note: You can discover pre-trained ASR models on HuggingFace with the
automatic-speech-recognitiontag.
3. Checking the Results
After the benchmark finishes, see aggregated scores for each model in the run.

3.1 Detailed Results
Click on an individual run to view more in-depth metrics and performance details.

Next Steps
- ASR Benchmark Overview – Learn the fundamentals of ASR benchmarking.
- Benchmarks UI – Explore how to manage additional benchmark types.
- Inference UI – Deploy and test your ASR models in real-time scenarios.