Notebooks UI
Use the Notebooks module to spin up Jupyter notebook instances. Customize resource usage, manage multiple sessions, and stop or delete instances as needed.
1. Main Tab
After selecting Notebooks in the sidebar:

- Create New Notebooks – Start fresh notebook instances on demand.
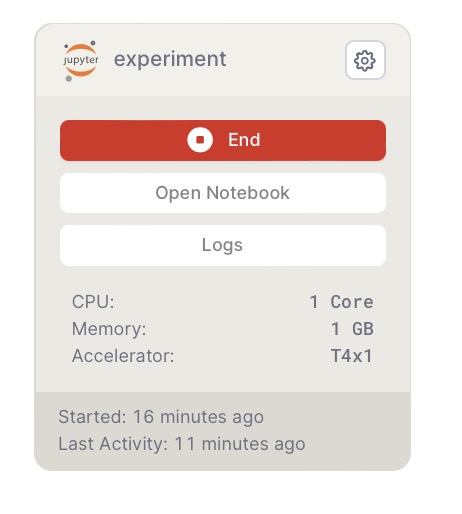
- Manage Existing – View CPU, memory, accelerator type, and status.
- Start/Stop – Quickly resume or halt previously created notebooks.
2. Creating a Notebook
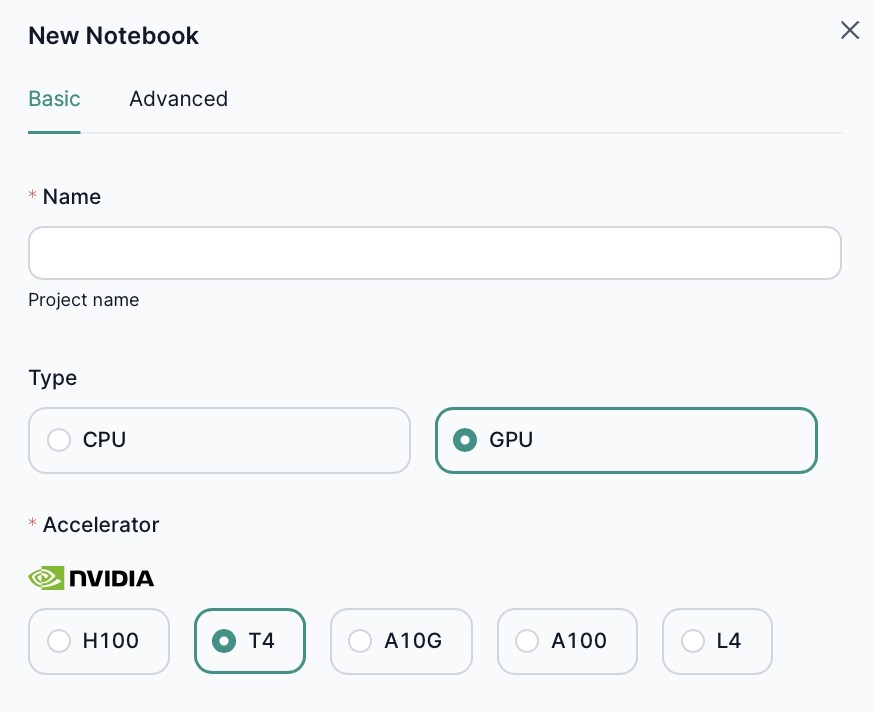
- Click New Notebook.
- Choose basic or advanced settings.
2.1 Basic Settings
- CPU or GPU – Select hardware type.
- Accelerator Type – If choosing GPU (e.g., T4, L4).
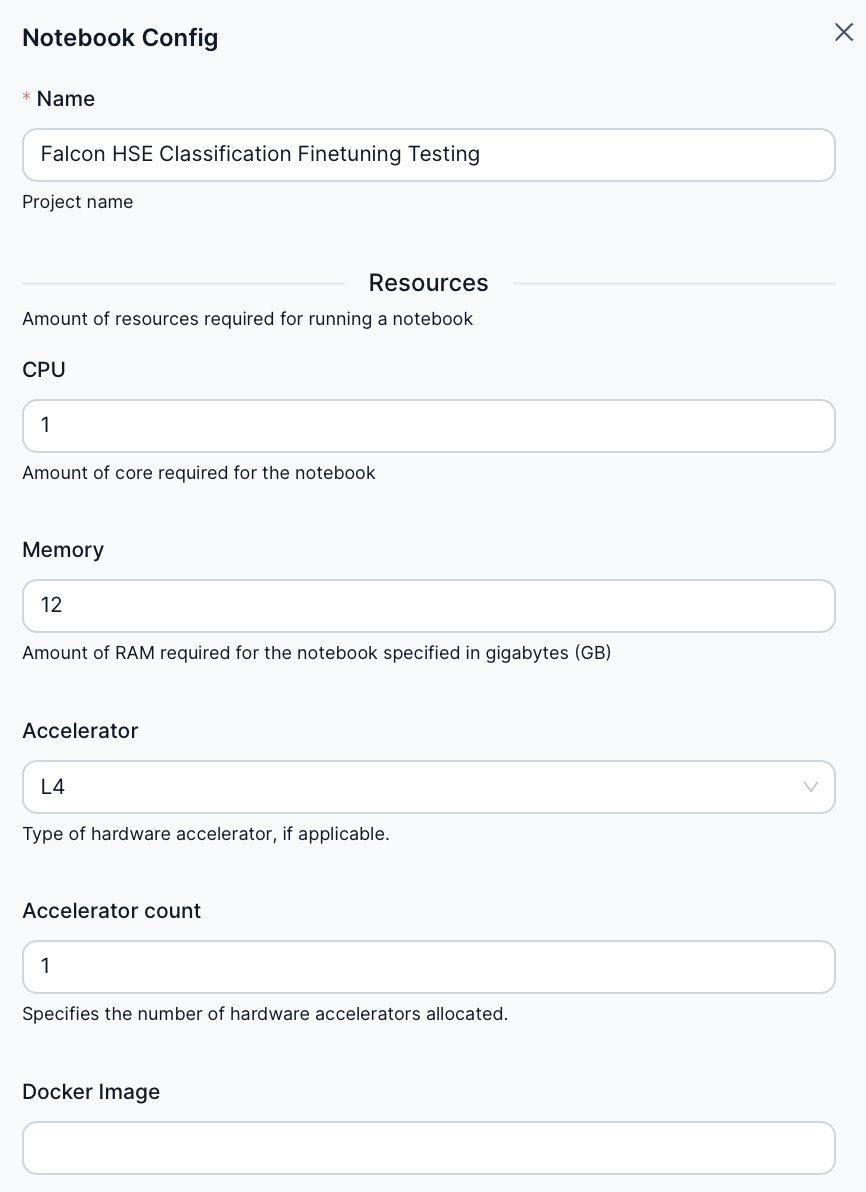
2.2 Advanced Settings
- Resource Allocation – CPU count, memory in GB.
- Accelerator – GPU type and number of accelerators.
- Docker Image – Custom Jupyter environment.
Note: Starting a notebook may take a few minutes. The platform automatically stops notebooks after a period of inactivity to conserve resources.
3. Notebook Settings
Click the gear icon on an existing notebook to adjust:
- Resource Specs – Same parameters as in the advanced setup.
- Save changes to update the instance configuration.
4. Deleting a Notebook
- Open the notebook’s settings (gear icon).
- Select Delete.
- Confirm the deletion.
5. Using a Notebook
Click Open Notebook to launch JupyterLab in a separate browser tab.
- Logs – View notebook logs by selecting Logs.
- Stop – Manually halt the notebook if you’re done working.
Next Steps
- Notebook Overview – Explore high-level concepts and benefits of the Notebooks module.
- Resource Allocation – Learn how to configure CPU, GPU, and memory.
- Job Management – Compare interactive notebooks with scheduled or batch processing workflows.